
Change widget type
Switch a widget between Chart, Table, and Scorecard, pick the chart type per series, and use table totals, CSV export, and scorecard statistics.
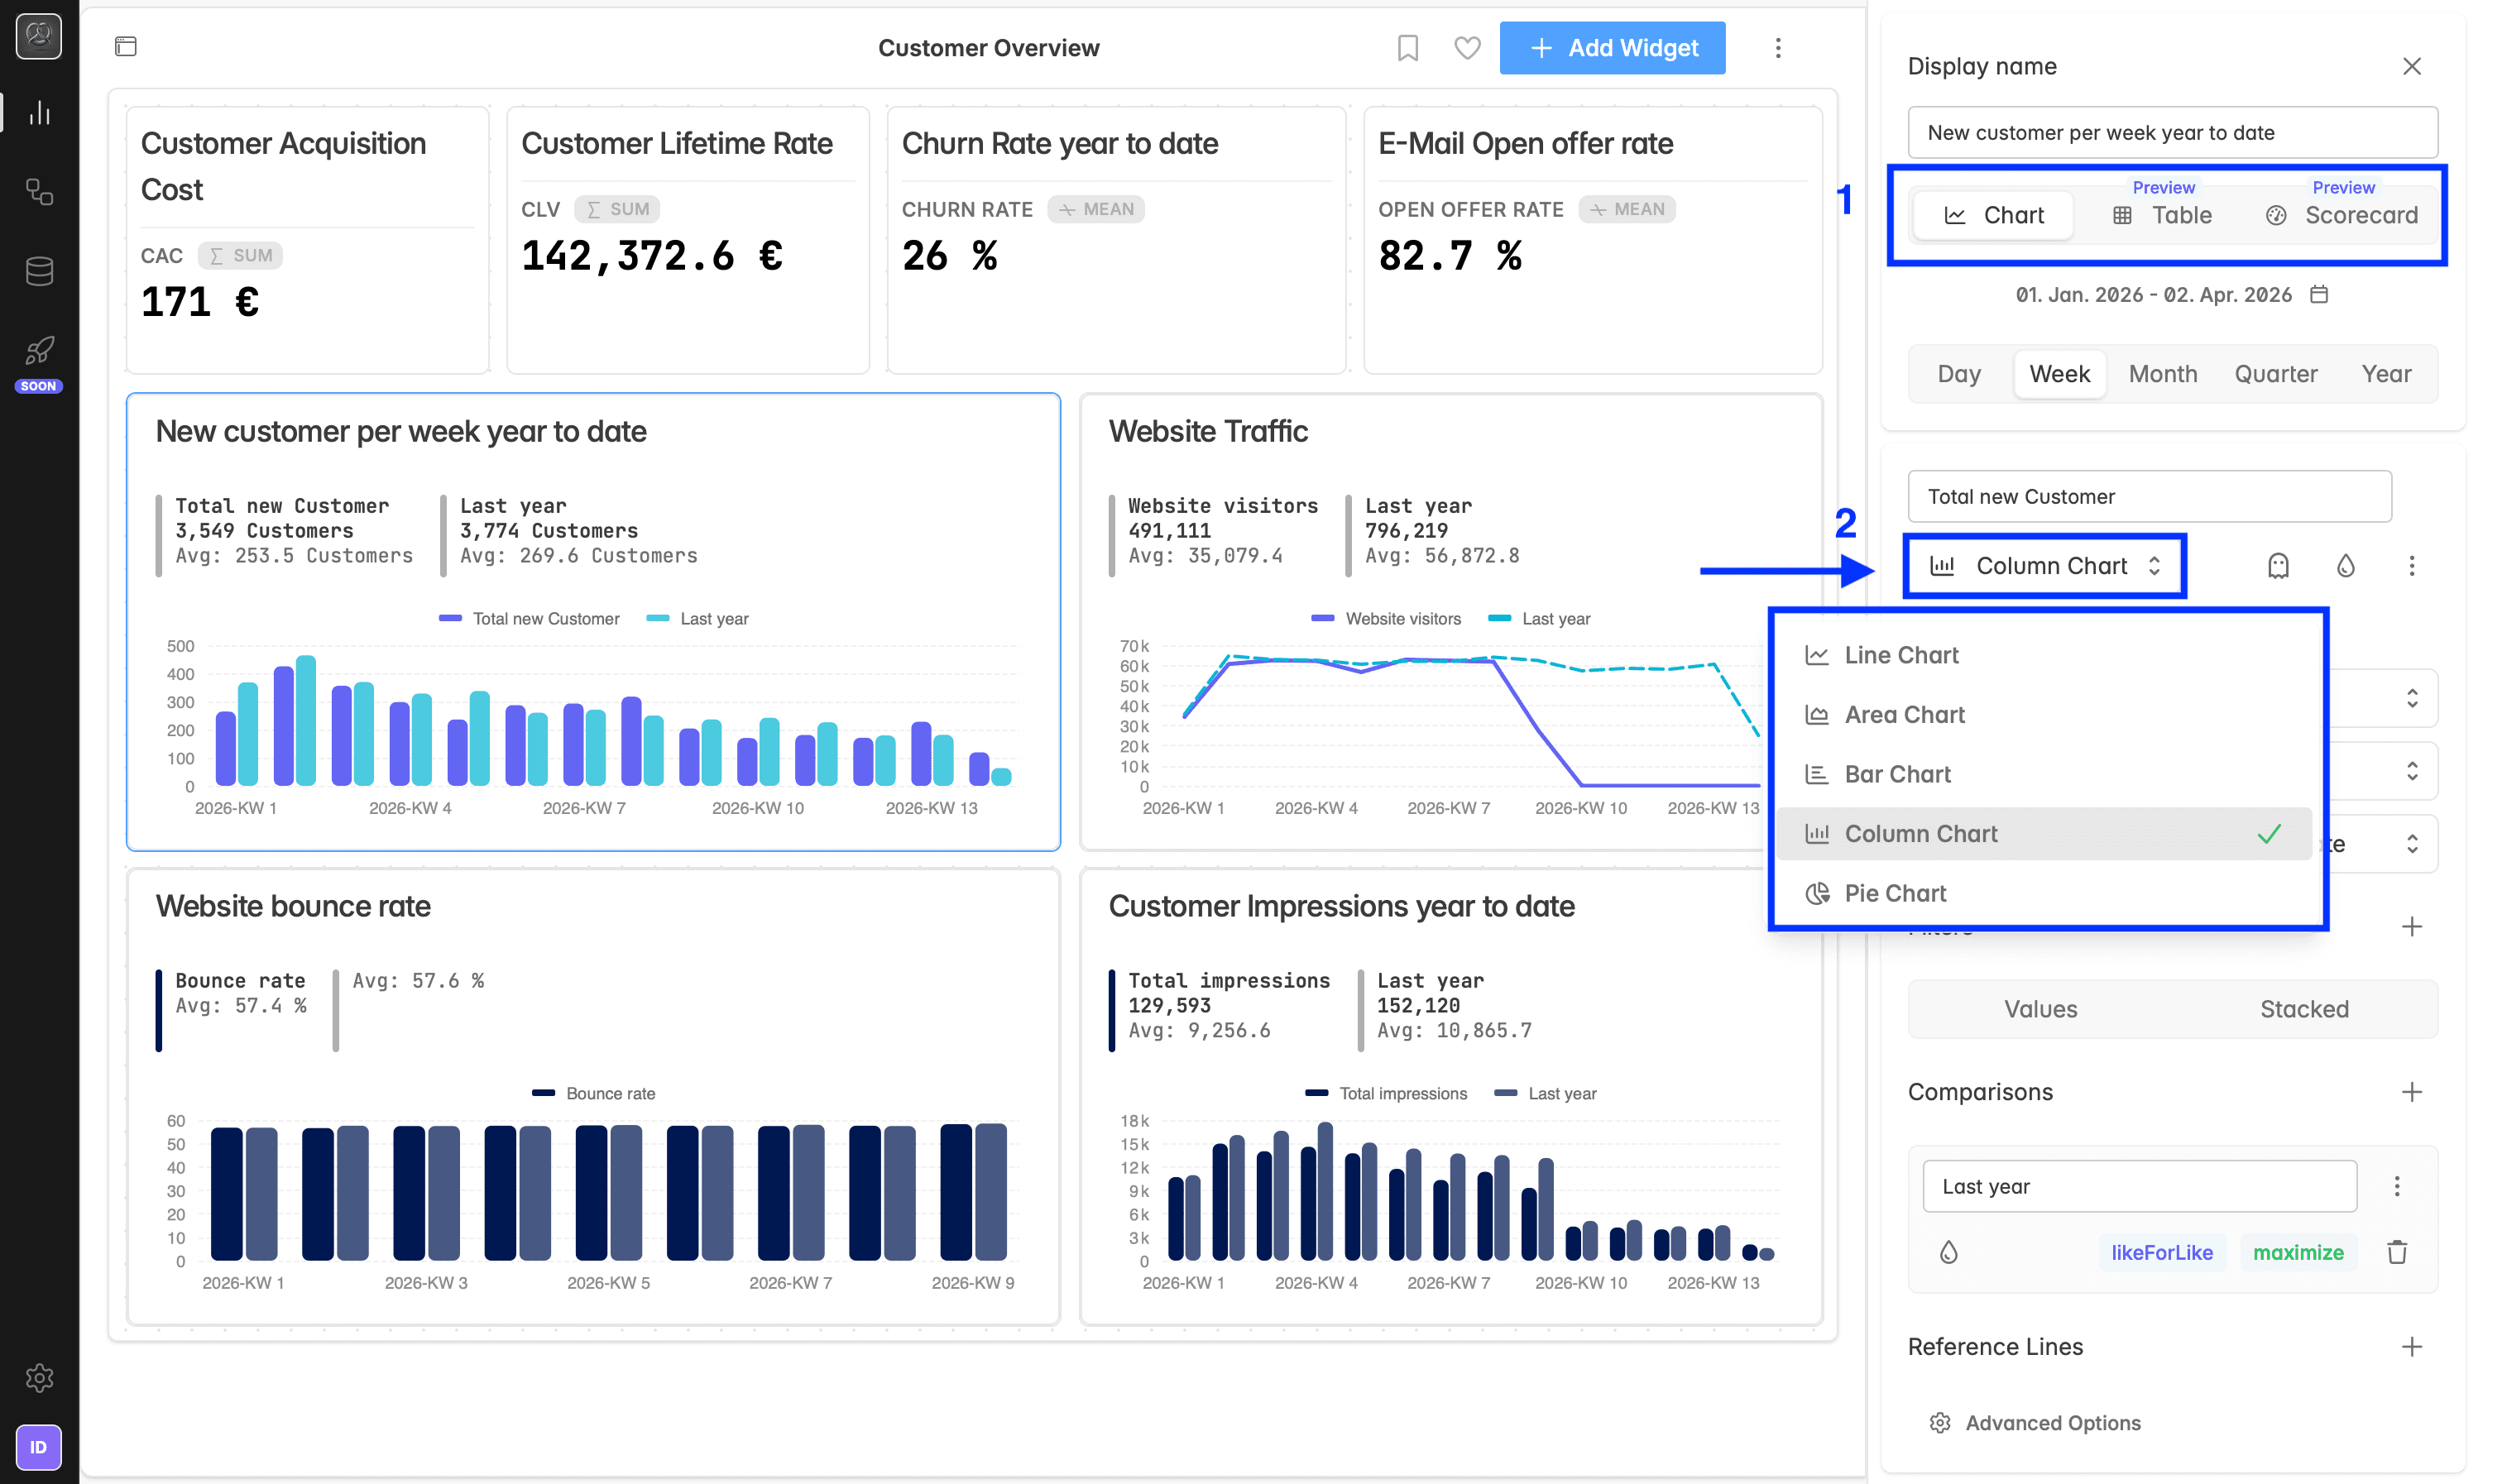
What is the widget type?
A widget shows its data in one of three forms, set with Show as in the widget editor:
Chart: draws the data. Each series on the chart has its own Visualization: Line, Area, Bar, Column, Pie, Scatter, or Calendar.
Table: lists the values in rows, one row per period or category, with a column per series and per comparison.
Scorecard: shows one headline number per series, with the change against a comparison next to it.
Changing the type changes how the data is shown, not how it is calculated. The series, filters, time range, and comparisons stay as they are, so you can switch back and forth.
When do I use which type?
Trends over time: a Line or Area chart.
Categories side by side, for example revenue per channel: a Bar or Column chart.
Shares of a whole: a Pie chart.
Two metrics against each other: a Scatter chart.
One value per day, for example occupancy: a Calendar chart.
One key number at a glance, for example revenue month to date: a Scorecard.
Exact figures to read or export: a Table.
How do I change the widget type?
Open the dashboard and click the name of the widget. The widget editor opens on the right.
Under Show as, click Chart, Table, or Scorecard.
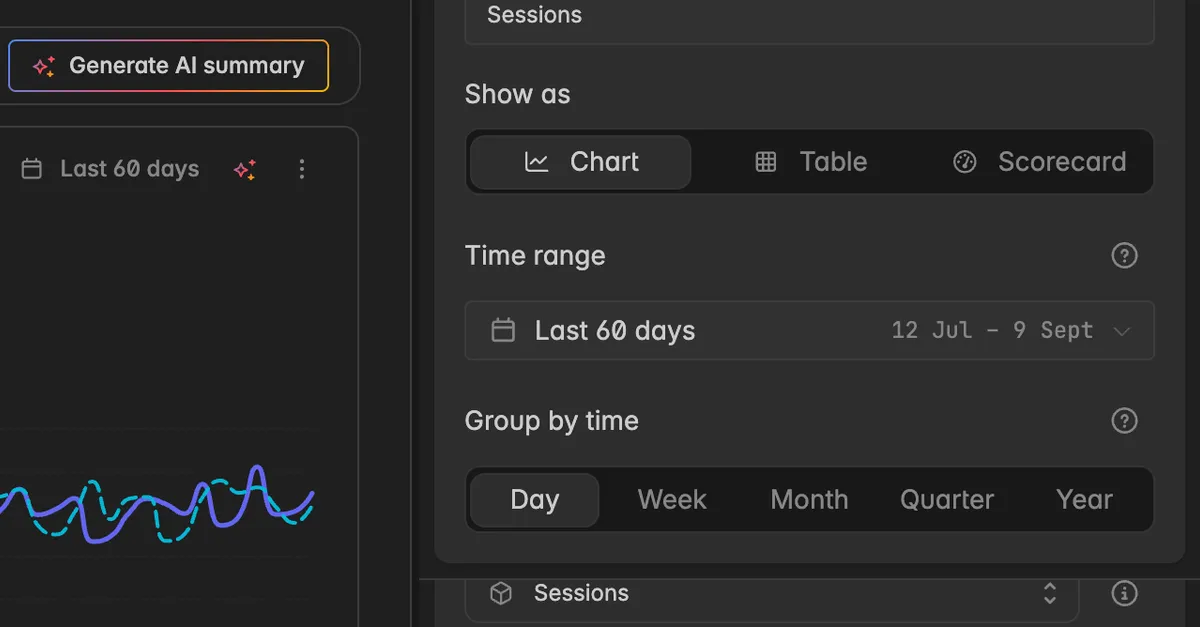
The widget on the board changes right away. There is no Save button, the editor saves on its own. Editing needs at least the User role.
How do I change the chart type of a series?
On a Chart widget, every series has its own visualization, so one widget can draw revenue as columns and the number of orders as a line on top.
In the widget editor, scroll to the series.
Click the Visualization field, which shows the current type, for example Line.
Pick Line, Area, Bar, Column, Pie, Scatter, or Calendar.
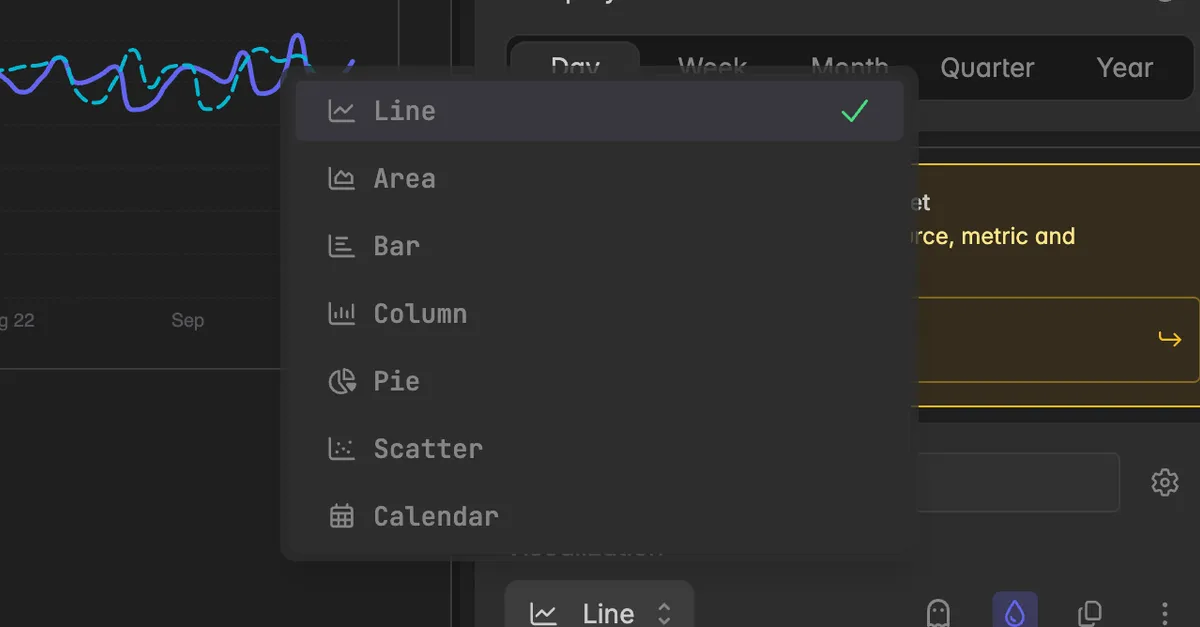
The Options below the series change with the type. A line offers Smooth, Values, and Stacked, a pie offers Labels, Donut, and Rose, a calendar offers Values and Heatmap. See Style a widget.
Note: A Pie cannot be combined with other chart types. If you mix them, the editor shows the warning Pie charts can't be combined with other chart types and draws the pie in a narrow column on the right. Switch all series to one family. A Calendar chart with comparisons shows a warning too, because the comparison layers are hard to tell apart there.
What do the chart types look like?
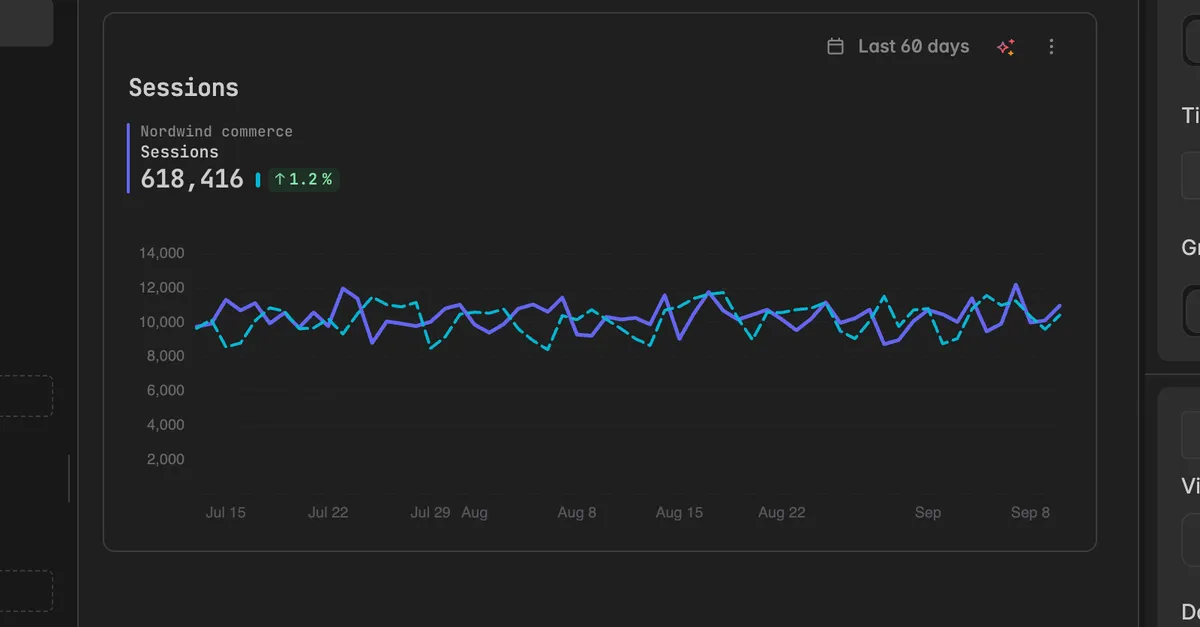
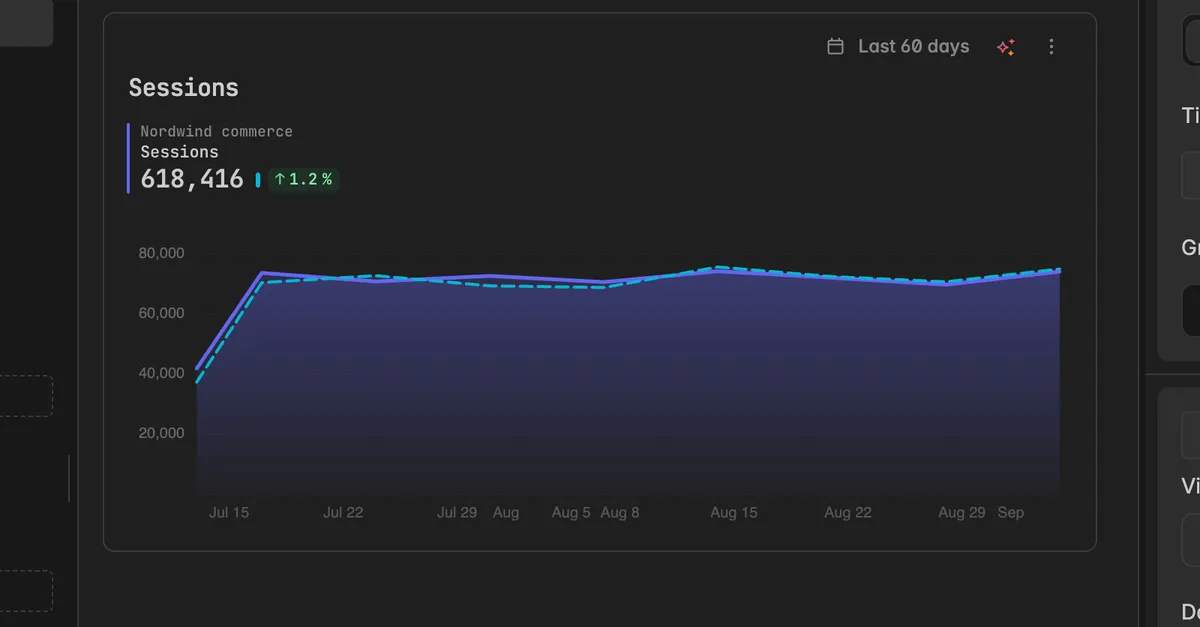
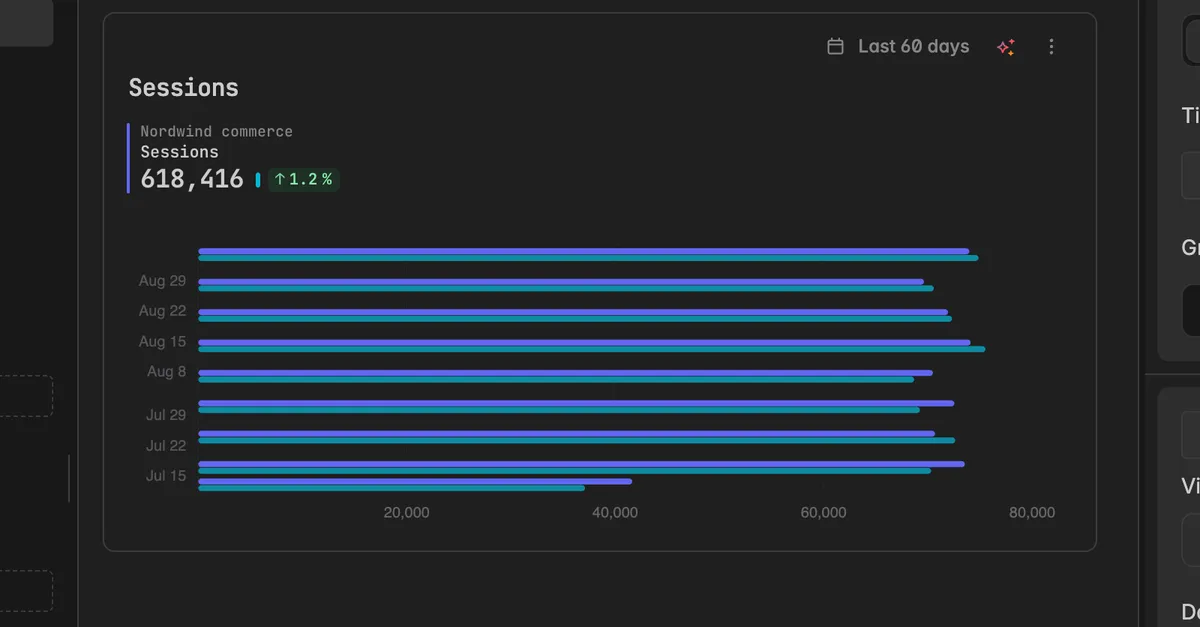
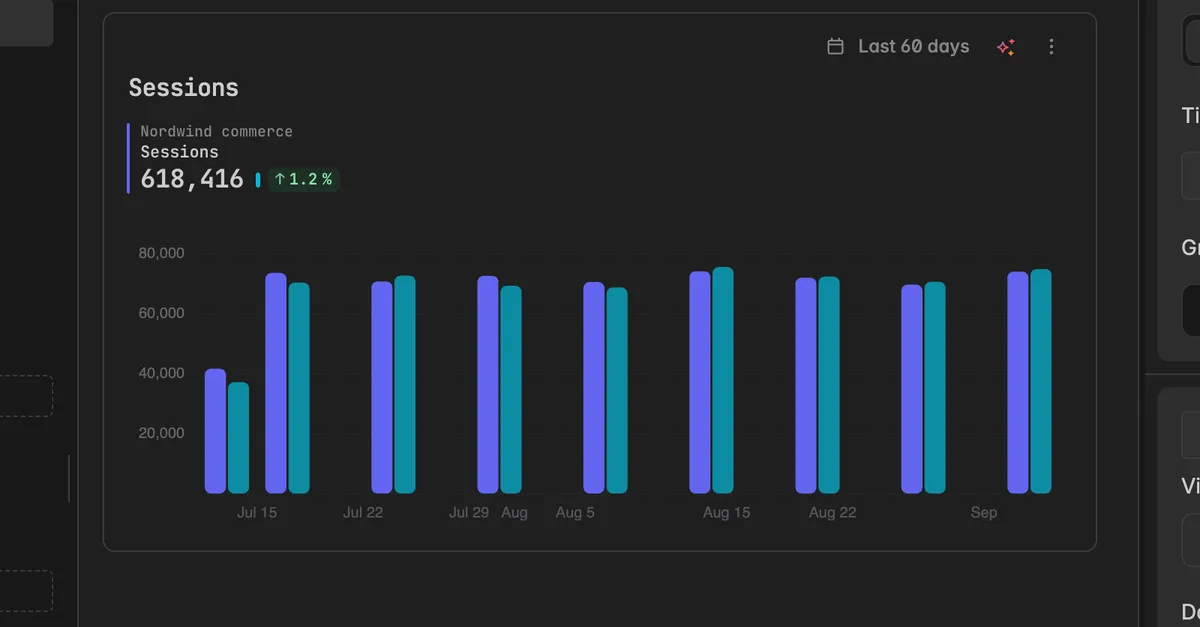
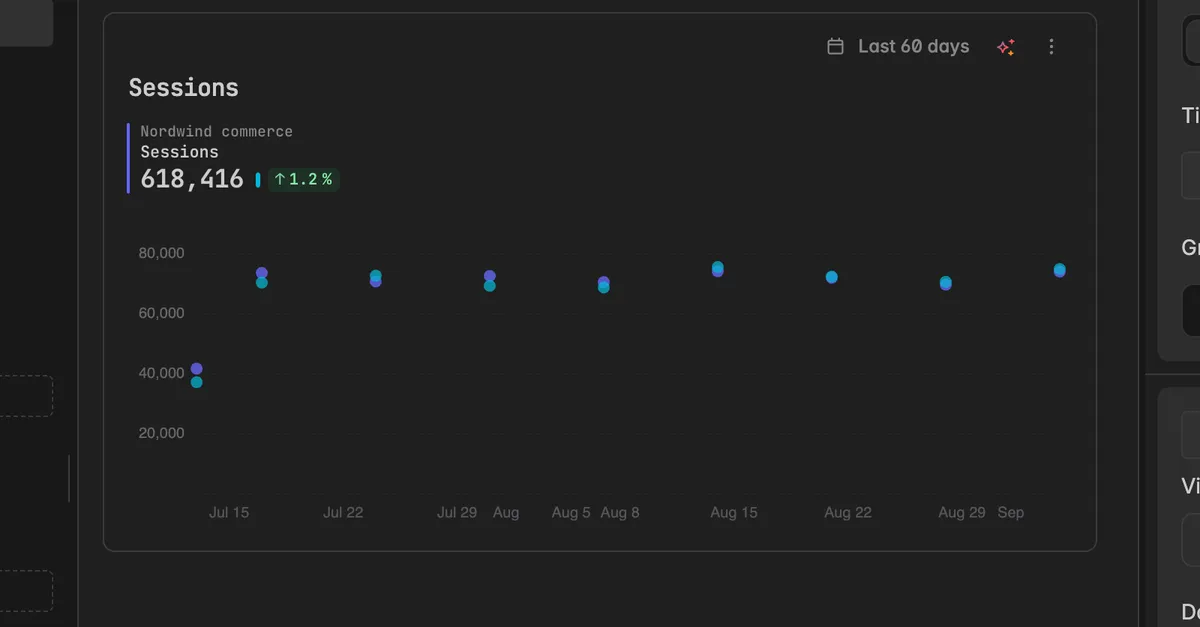
The same series, Sessions with a Previous period comparison, drawn with each visualization:
Line: one point per period, connected. The comparison is the dashed line.
Area: a line with the space below it filled. Good for volumes that add up, for example revenue per week.
Bar: horizontal bars, one per period or category. Reads well when the category names are long.
Column: vertical bars. The comparison stands next to each column.
Scatter: one dot per point, no connecting line. Shows the spread rather than the trend.
Pie: one slice per value of the Group by dimension, here revenue by channel.
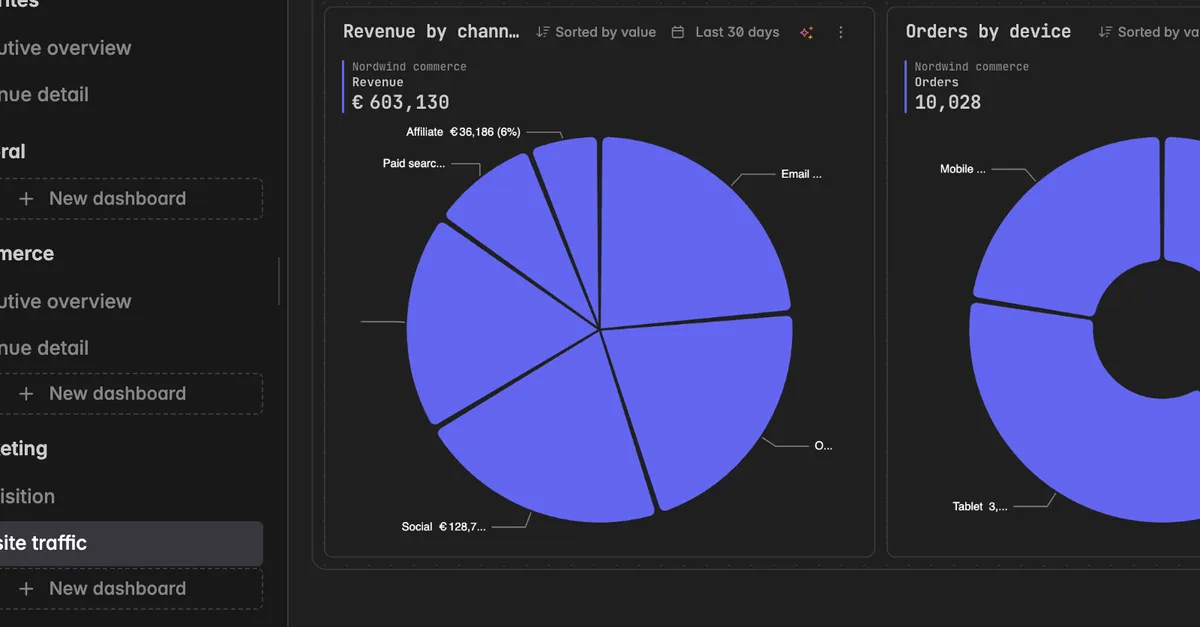
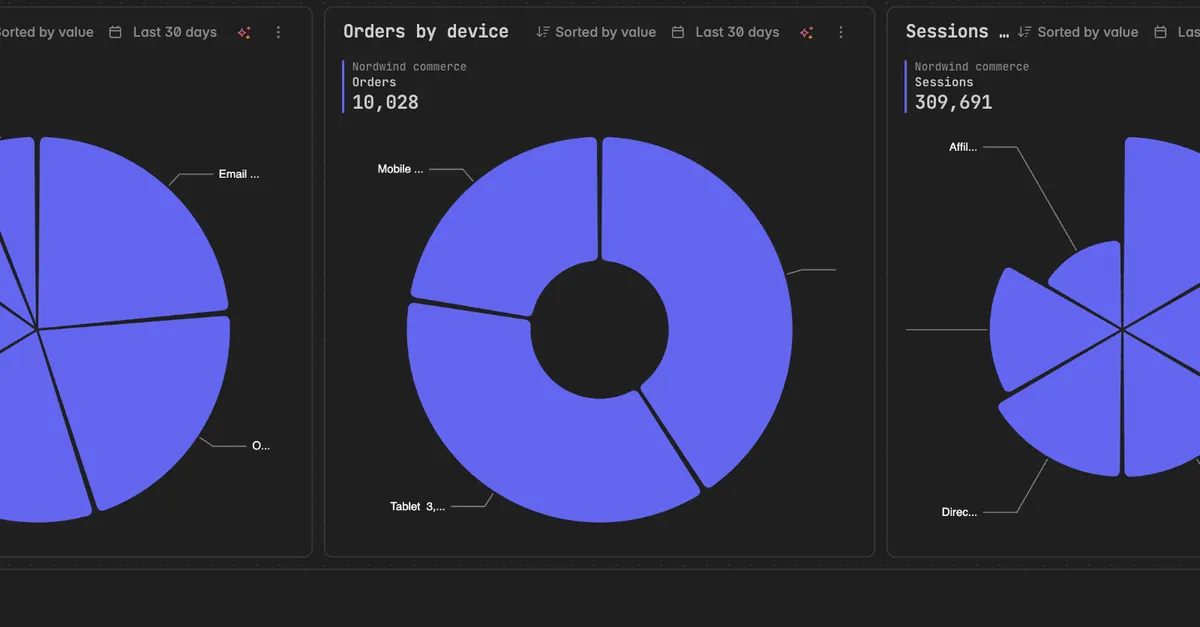
Donut: the same pie with Donut turned on under Options, so the middle stays open.
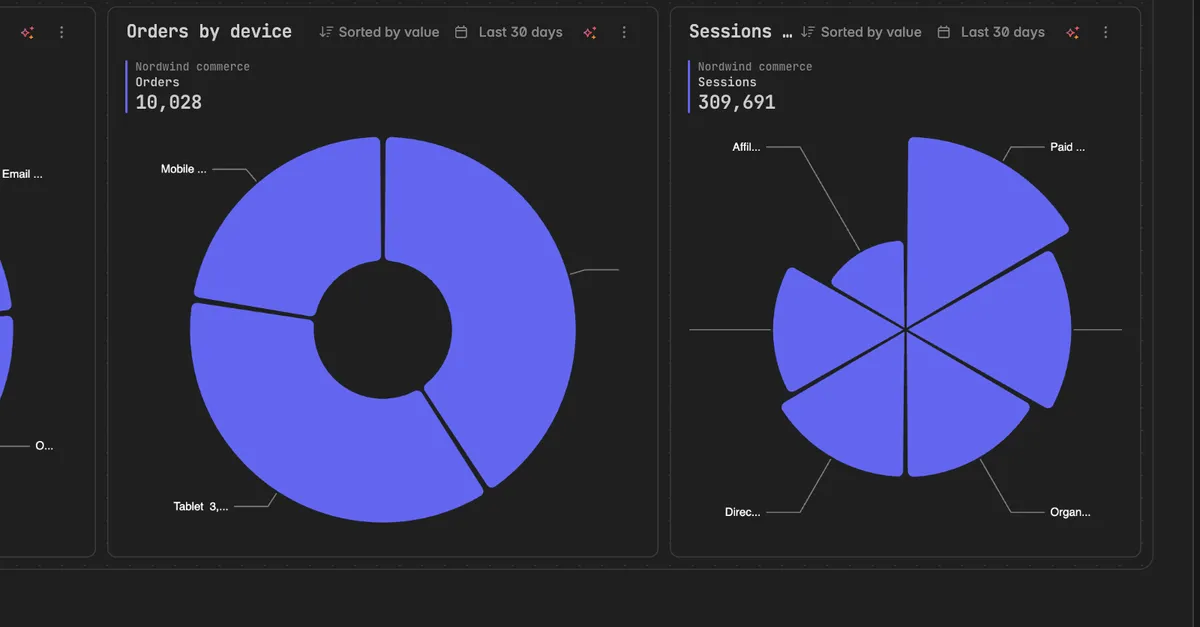
Rose: a pie with Rose turned on, so the slices also grow outward with their value.
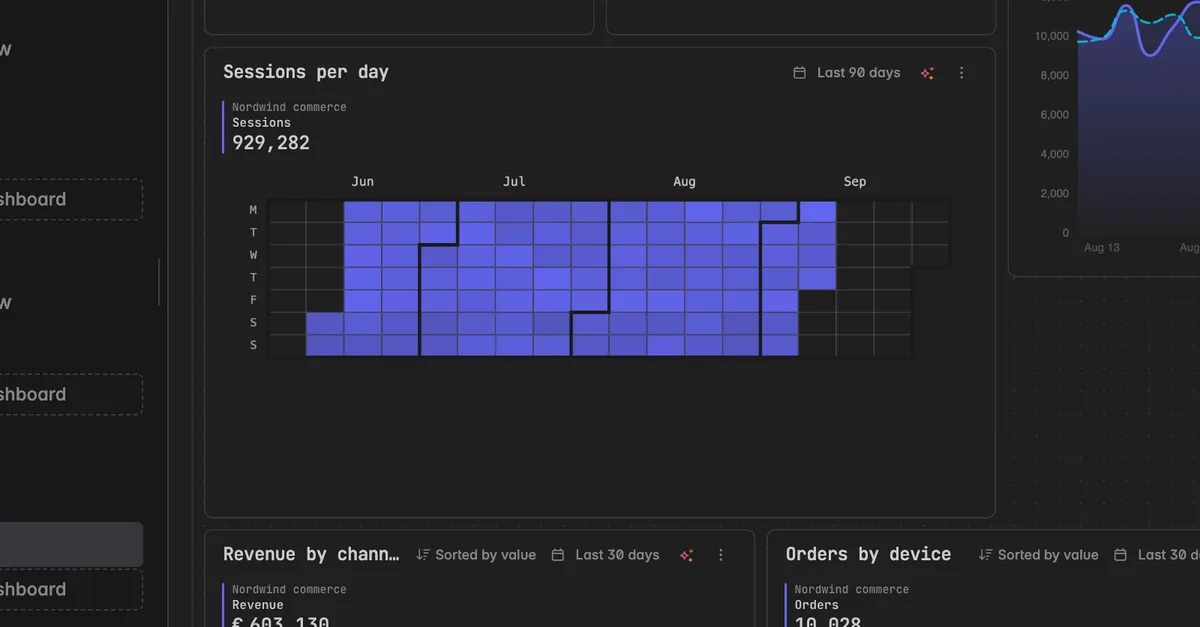
Calendar: a grid of days, one cell per day, grouped by month. Turn on Heatmap to color the cells from low to high, and Values to print the number in each cell. Use it for figures that exist per day, for example occupancy or arrivals.
How do I use a table?
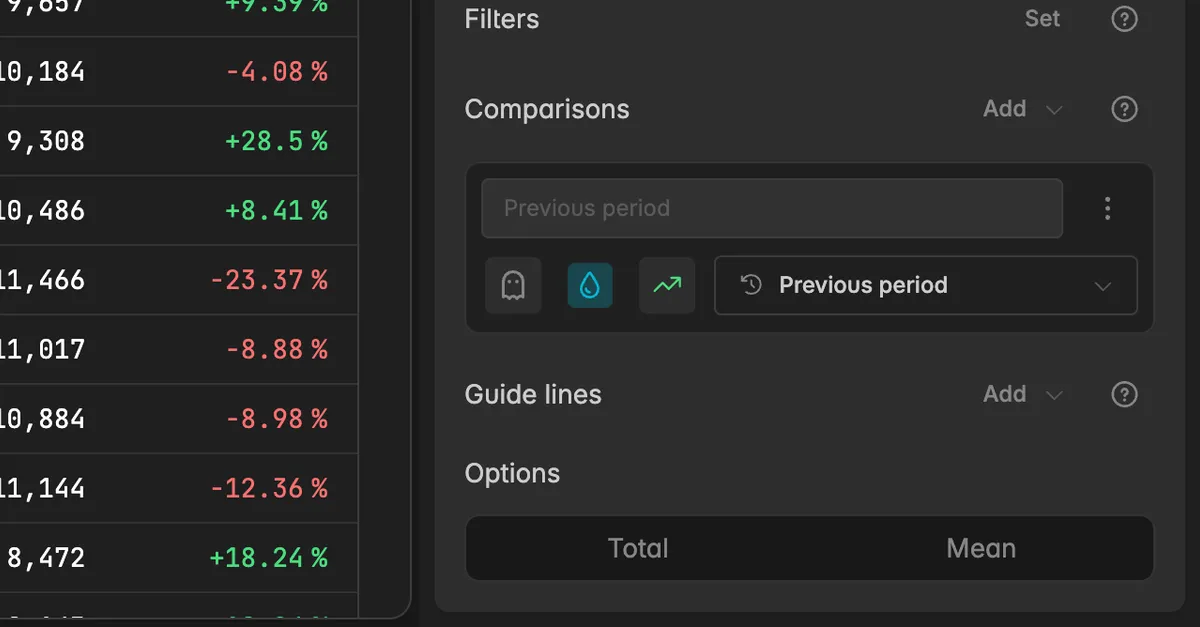
A table lists the values behind the widget. Comparisons appear as extra columns, for example Previous period and Change.
In the widget editor, set Show as to Table.
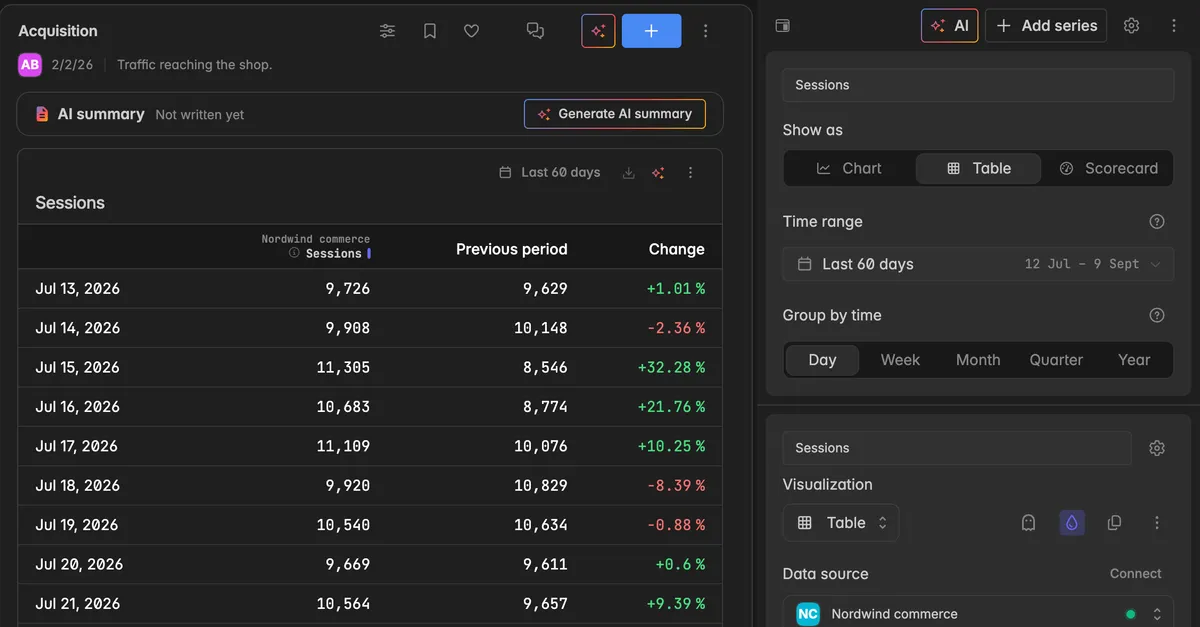
Under Options, turn on Total to add a total row and Mean to add an average row at the bottom of the table.
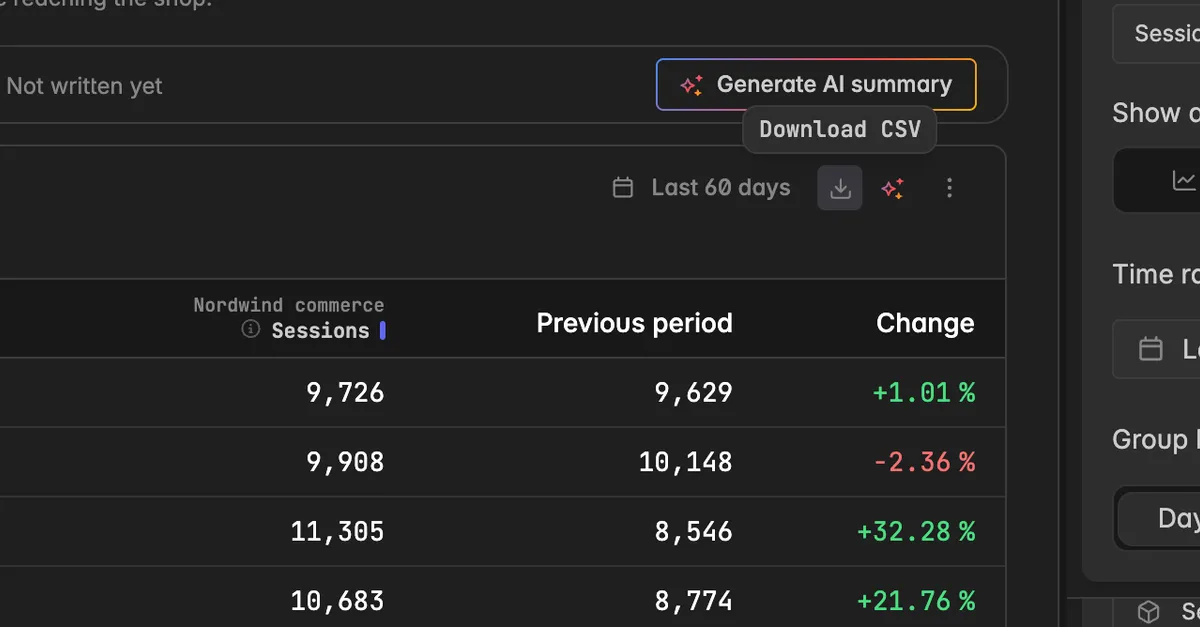
To export the table, hover over the widget and click the download icon at its top right. The tooltip reads Download CSV. The file contains the rows as shown, including the comparison columns.
How do I use a scorecard?
A scorecard shows one number per series for the whole time range, with the comparison underneath, for example Previous period and the change in percent.
In the widget editor, set Show as to Scorecard.
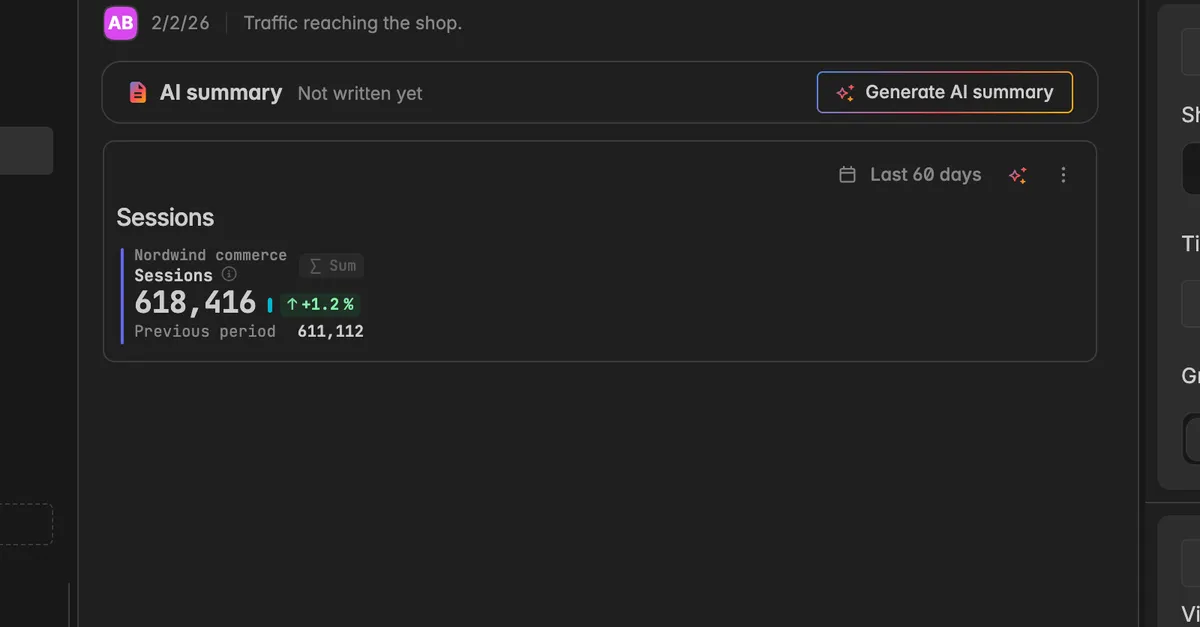
Under Options, choose which number the scorecard shows for the period: Last for the latest value, Sum for the total of every value, or Mean for their average.
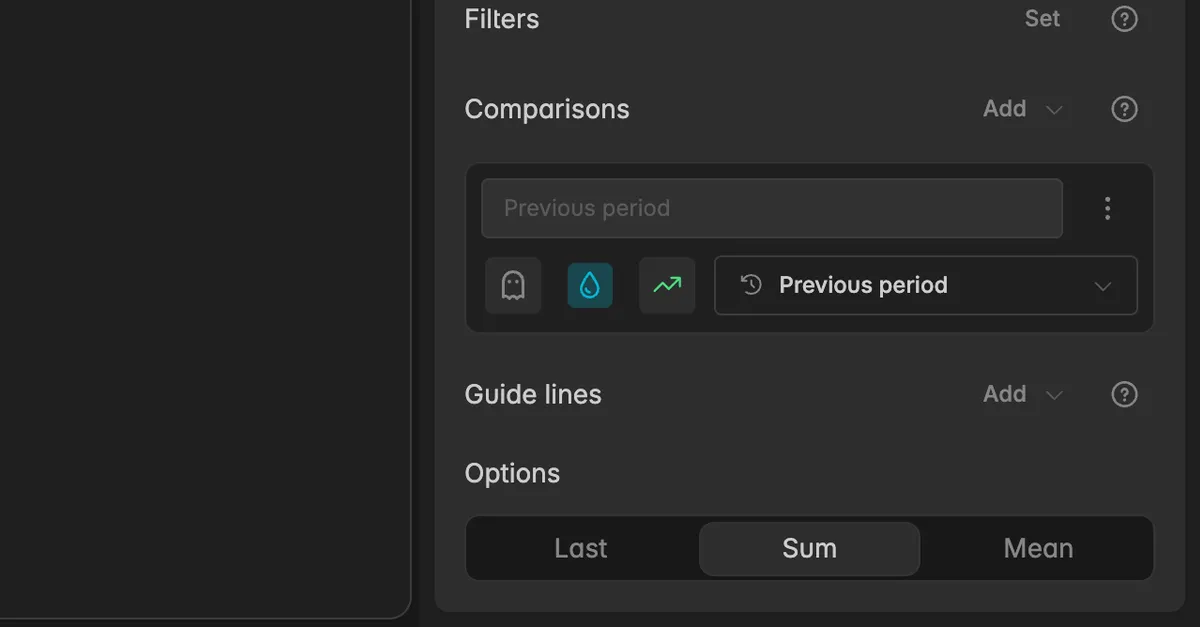
Add a comparison on the series so the scorecard shows the change, see Comparisons.
A scorecard with several series shows one number per series. If you want them to stand out more, put each metric on its own widget.
Note: On a chart widget you can pick which statistic is shown in the legend and which extra ones appear below it, in Advanced settings → Formatting → Stats display. See Change formatting.
Troubleshooting
The Visualization field is not there
- The visualization is only set on Chart widgets. Set Show as to Chart first. A Table or Scorecard does not draw the series.
My chart looks wrong after switching the type
- Some types expect a different Group by. A pie needs a dimension like channel or country to split into slices, a line usually runs over time. Check Group by and Group by time on the series.
A pie sits in a narrow column next to the other series
- The widget mixes a pie with lines or bars. Switch every series to pie, or the pie to another type.
Smooth, Stacked, Values, or Labels is missing
- The options depend on the visualization of the series. Smooth is for line and area, Stacked for line, area, bar, and column, Labels, Donut, and Rose for pie only.
The download icon does not appear
- The CSV download is only available on Table widgets. Switch Show as to Table, then hover over the widget.
Was this helpful?