
Create a widget
Add a widget to a dashboard with AI or by hand, open the widget editor, and learn what each part of it does.
What is a widget?
A widget is one chart, table, or scorecard on a dashboard. It reads a metric from one of your Insights, for example Revenue from your PMS, and shows it for a time range you choose. Widgets are the building blocks of a dashboard: you add one per question you want answered, arrange them freely, and they update on their own whenever the Insight behind them refreshes.
A widget can show one or several data series, from the same Insight or from different ones.
Every widget starts as a line chart. You change the type, the time range, filters, and everything else afterwards in the widget editor.
Adding and editing widgets needs at least the User role. Members with the Reader role see the dashboard, but not the Add widget button.
How do I add a widget?
There are two places to start, and both open the same Add a widget dialog.
On a dashboard that already has widgets, click Add widget at the top right of the toolbar.
On an empty dashboard, describe the first widget in the prompt in the middle of the page, or click Or add a widget by hand below it.
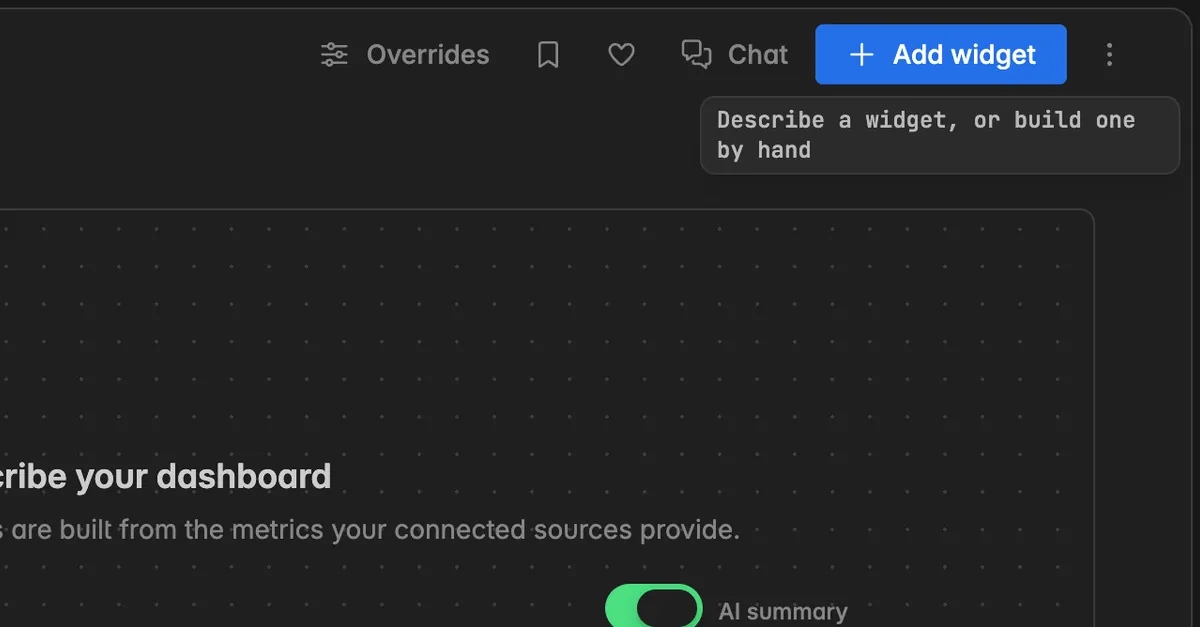
In the dialog, pick how the widget should be built. The switch at the top has two options: Let AI build it and Build it myself.
Option 1: Let AI build it
Use this when you know what you want to see but do not want to pick the metric and dimensions yourself.
Click Add widget and leave the switch on Let AI build it.
Type what the widget should show, for example
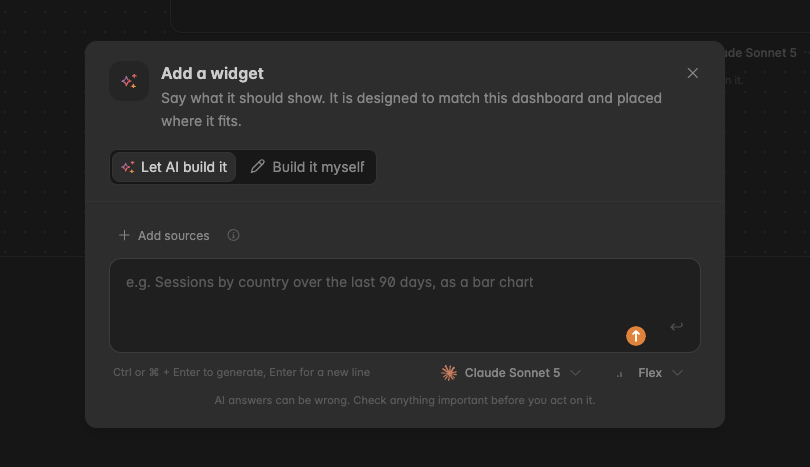
Sessions by country over the last 90 days, as a bar chart. The widget is designed to match the dashboard and placed where it fits.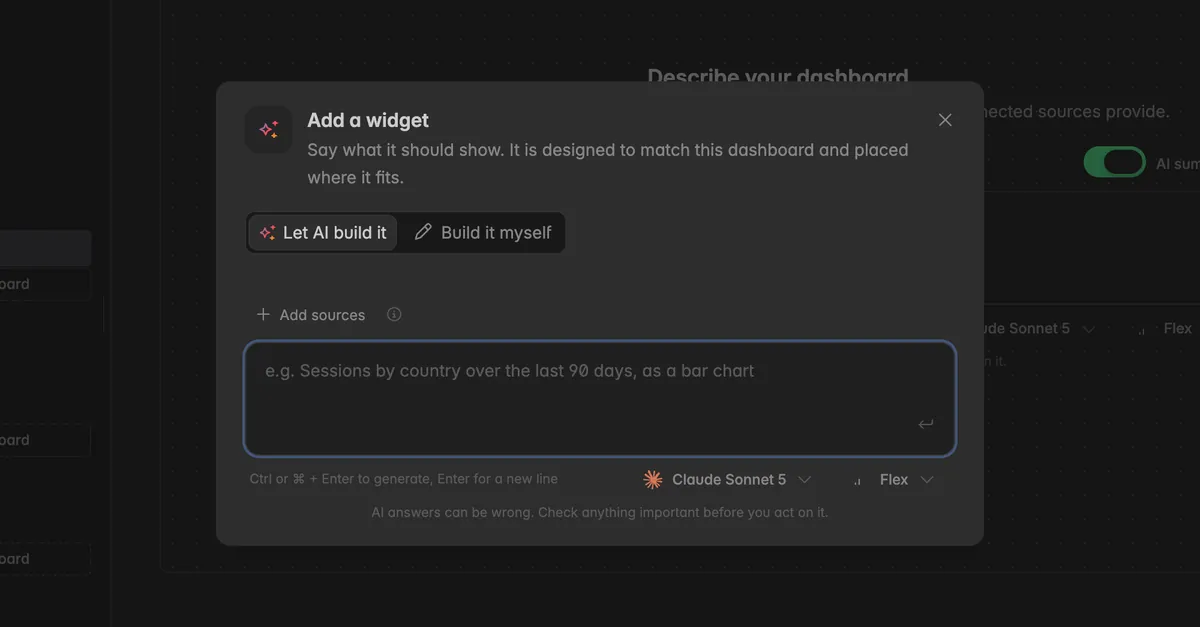
Press Ctrl + Enter or ⌘ + Enter, or click the arrow button at the end of the field. Enter alone adds a new line.
While the widget is being built, the dashboard shows A widget is on its way and the other widgets cannot be moved, resized, or changed with AI. The new widget appears on the board as soon as it is ready. You can leave the page in the meantime.
Note: Every generated widget is a separate AI call and uses AI budget. If the space has used its AI budget for this period, the prompt tells you so and shows when it resets. Switch to Build it myself to add the widget without AI.
Option 2: Build it myself
Use this when you already know the Insight and the metric.
Click Add widget and set the switch to Build it myself.
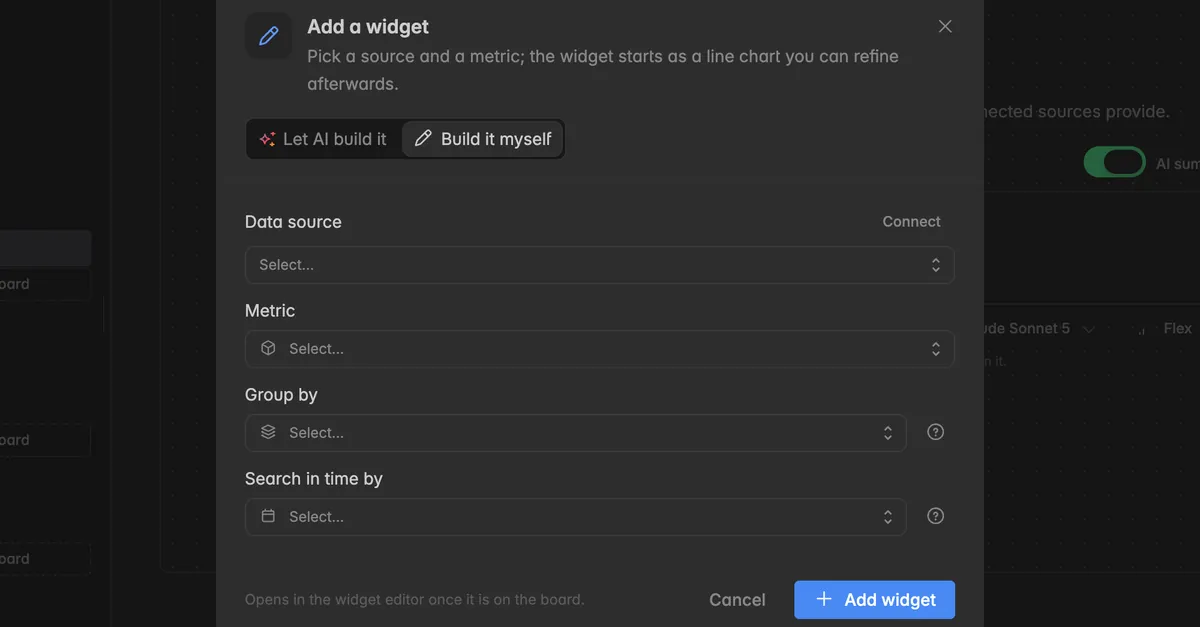
Click Data source and select the Insight to read from. The list shows every Insight in your space, including Insights shared with you by another space.
Click Metric and select the metric to show, for example
RevenueorSessions. Type to search the list.Group by and Search in time by fill in with a default once the metric is set. Change them only if you need to.
Group by splits the metric by a dimension, so the chart shows one series per value, for example one per channel or one per property.
Search in time by decides which date on each record puts it into a period, for example the day a request came in or the day of the stay.
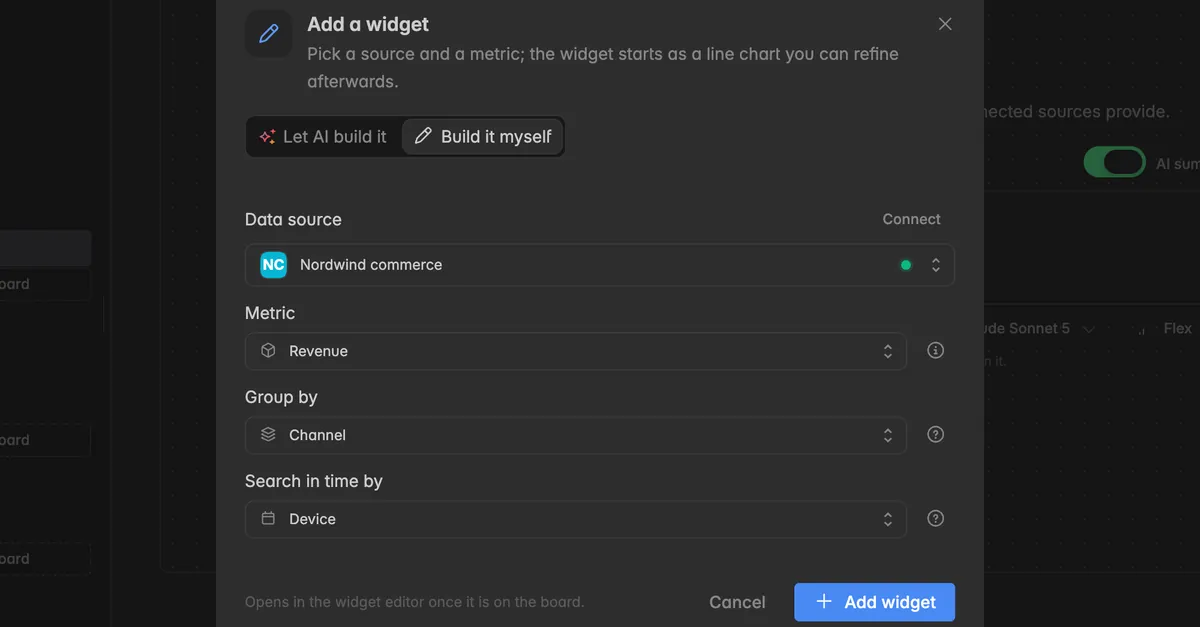
Click Add widget.
The widget lands on the board as a line chart with the Last 7 days as time range. The next section explains where to change that.
How do I open the widget editor?
Every change to a widget happens in the widget editor, a panel that opens on the right side of the dashboard.
Open the dashboard.
Click the name of the widget. The editor opens next to the board with that widget loaded.
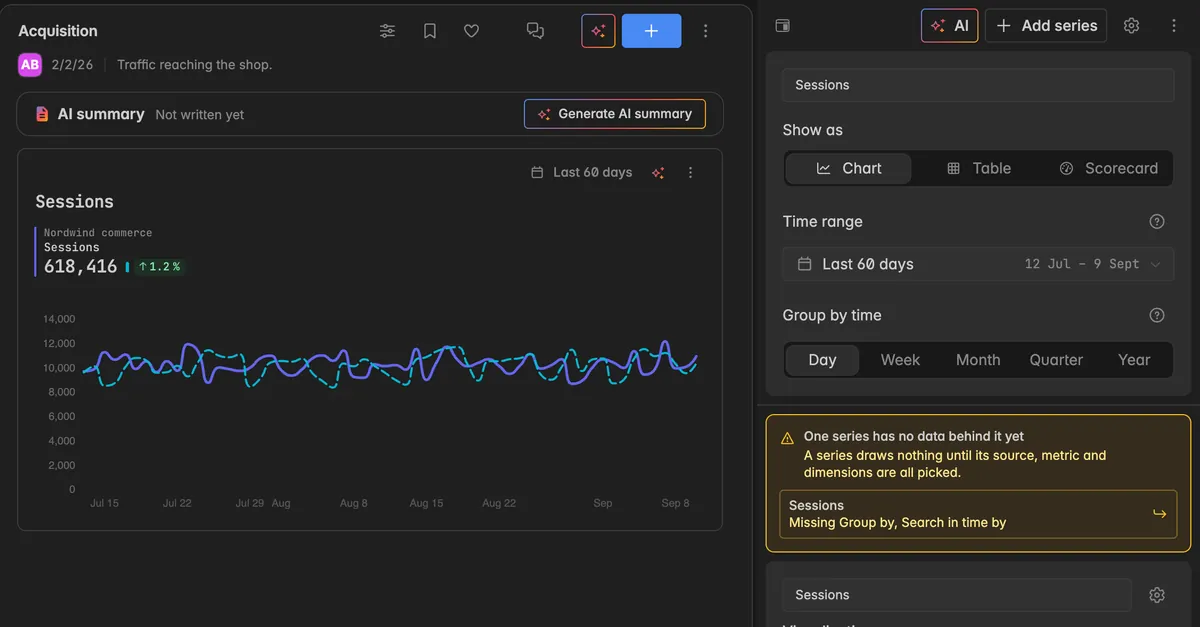
Changes save on their own while you work. There is no Save button, and the widget on the board updates as you edit. Click the panel icon at the top left of the editor to hide it again.
What can I set in the widget editor?
The editor is one long form. From top to bottom:
Name and display
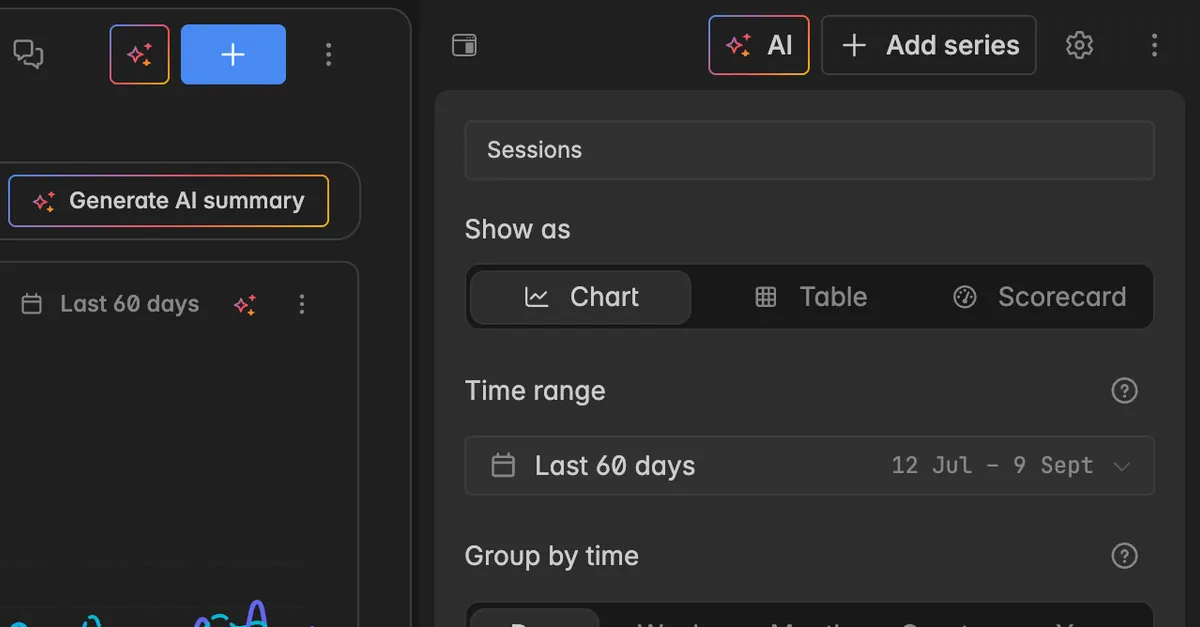
Widget display name: the title shown above the widget. Click into the field at the top and type.
Show as: Chart, Table, or Scorecard. See Change widget type.
Time range: the period the widget reads, saved with the widget. See Edit widget calendar.
Group by time: how far apart the points on the time axis sit, Day, Week, Month, Quarter, or Year.
Series
A series is one metric drawn on the widget. Each series has its own block with these fields:
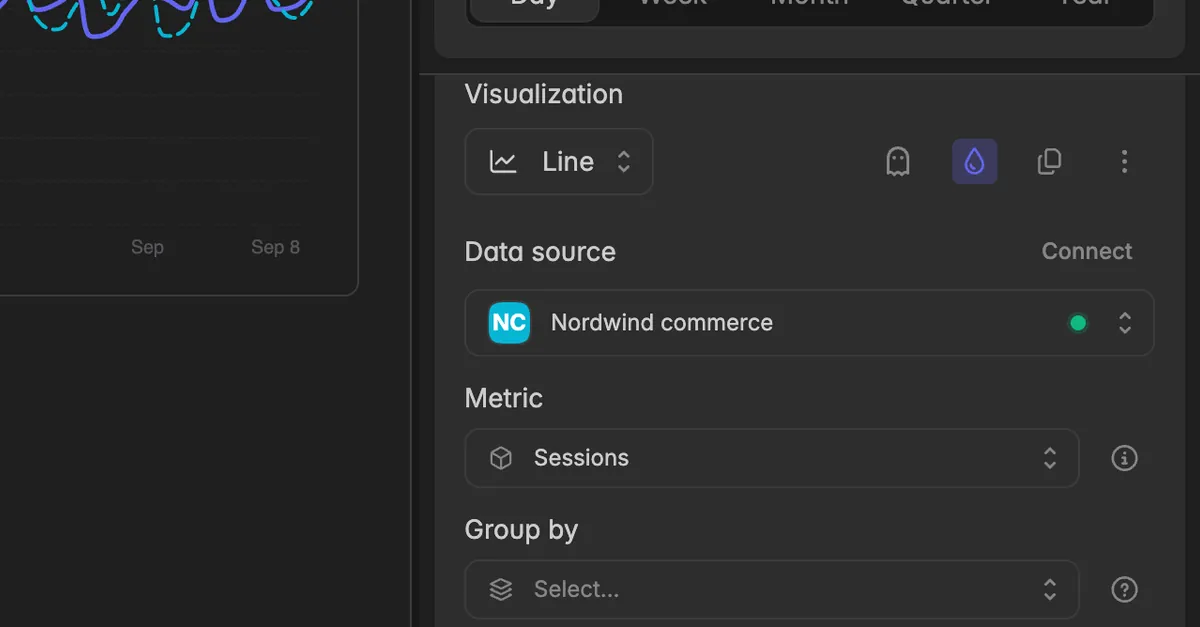
Visualization: how this series is drawn, for example Line, Bar, Column, Area, Pie, or Scatter. Series in one widget can use different types.
Data source and Metric: the Insight and the metric, as in the add dialog. See Manage widget data sources & Metrics.
Group by and Search in time by: the dimension split and the date field, as in the add dialog.
Click Add series at the top of the editor to put a second metric on the same widget, for example revenue next to bookings. Use the ⋮ icon on a series block for Advanced settings, Duplicate, and Delete to remove that series.
Filters, Comparisons, Guide lines, Options
Below the series fields, each series has four sections to refine what it shows:
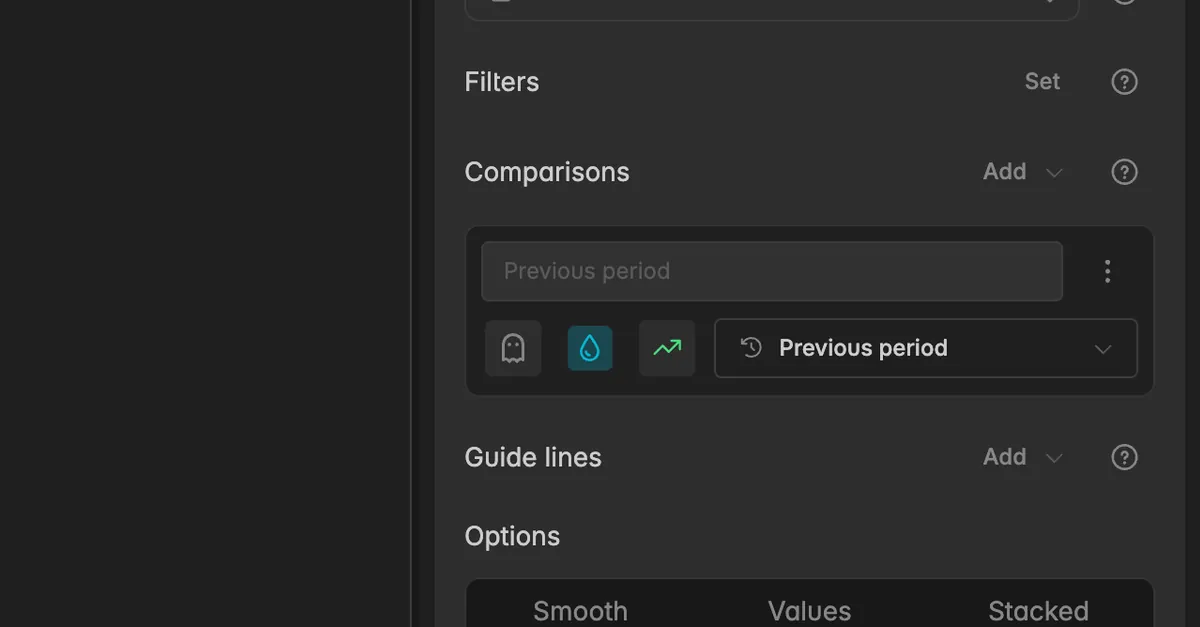
Filters: keep only the rows that match, for example one channel or one property. See Filter data.
Comparisons: put an earlier period next to this series, so the change shows on the chart. See Comparisons.
Guide lines: extra lines to read the series against, its average or a target you set. See Guide lines.
Options: Values, Stacked, Smooth, and the other display switches for the chosen visualization. See Style a widget.
AI, Advanced settings, and the widget menu
AI at the top of the editor opens the prompt for this widget. Describe what should change, for example
Show it as a bar chart by month, and compare with last year. The widget keeps its size and its place on the board. See Edit a widget with AI.The gear icon opens Advanced settings for the whole widget: ranking, axes, and formatting. See Ranking and Change formatting.
The
⋮icon at the top right of the editor opens the widget menu.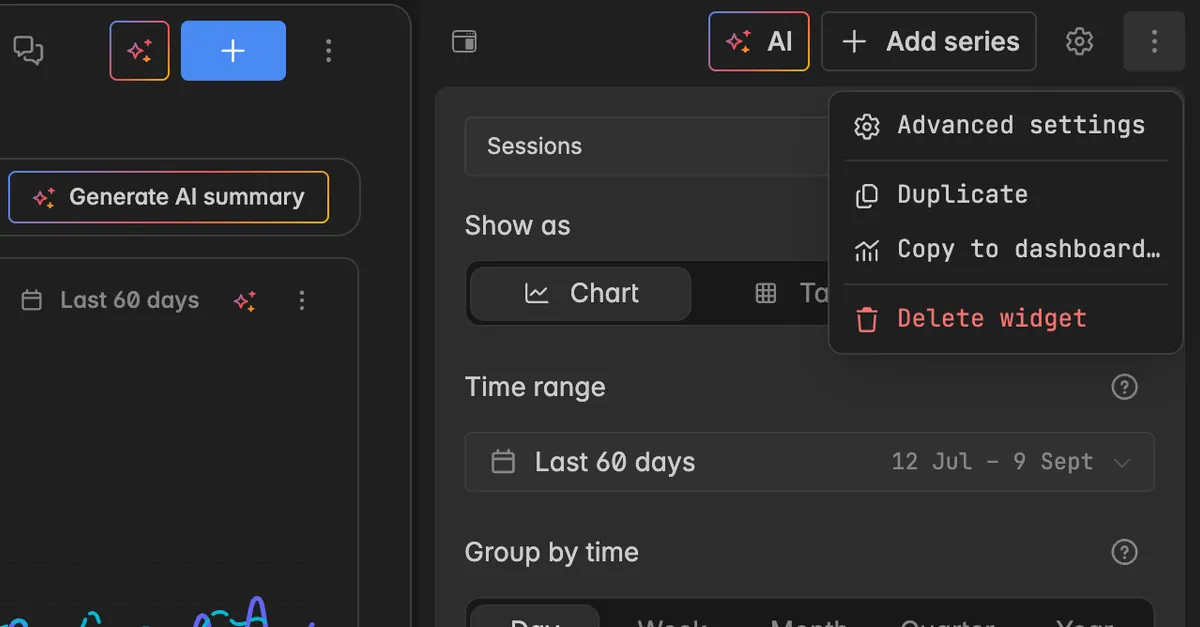
Advanced settings: same as the gear icon.
Reorder series: appears once the widget has more than one series. Changes the order the series are drawn in.
Duplicate: puts a copy named
[name] (copy)on the same dashboard.Copy to dashboard…: pick another dashboard, the copy lands at the foot of that dashboard and this widget stays where it is.
Delete widget: removes the widget, see below.
How do I duplicate or copy a widget?
You can do this without opening the editor.
Hover over the widget on the board and click the
⋮icon at its top right.Select Duplicate to copy it onto the same dashboard, or Copy to dashboard… to move a copy elsewhere.
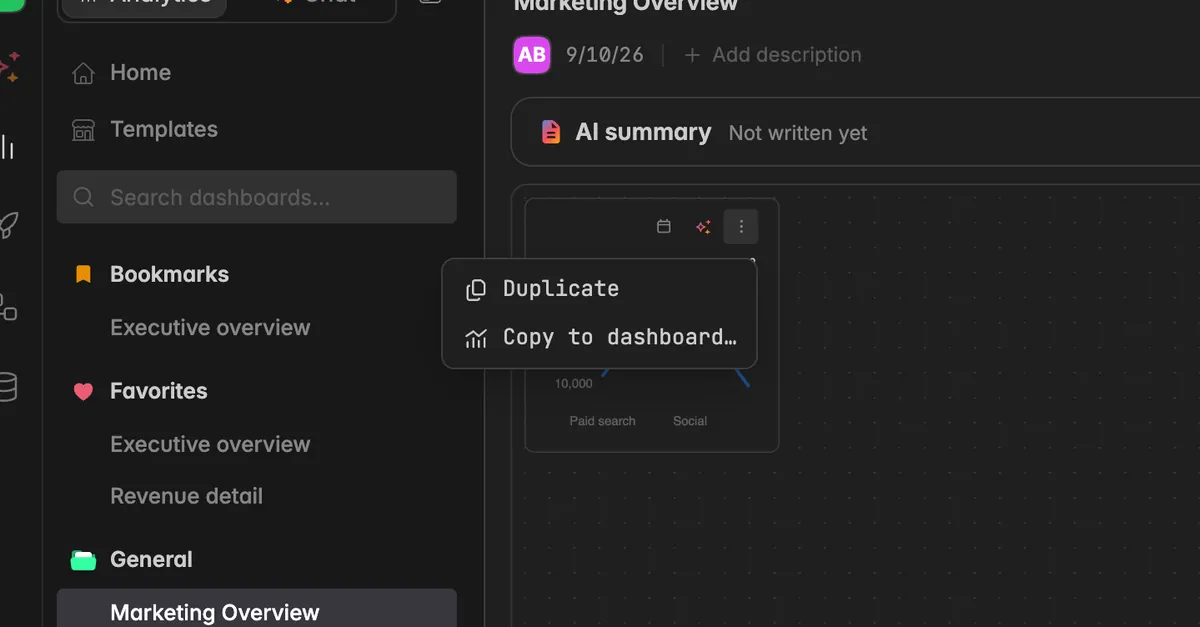
For Copy to dashboard…, pick the target in the dialog Copy widget to a dashboard and click Copy widget. A toast confirms Widget copied to [dashboard].
The same two entries are in the widget menu of the editor.
How do I delete a widget?
Click the widget name to open the editor.
Click the
⋮icon at the top right of the editor and select Delete widget.Confirm in the dialog Delete widget.
Note: Deleting a widget removes everything configured in it, including its series, filters, and comparisons. This cannot be undone. If you only want it off this dashboard, use Copy to dashboard… first.
Troubleshooting
I do not see the Add widget button
Adding widgets needs at least the User role. Members with the Reader role see No widgets yet on an empty dashboard and no toolbar button. Ask a space admin to change your role.
While AI is building or changing a widget, the toolbar shows Widgets can be added once the dashboard is ready. Wait for the current run to land.
The Data source list is empty
- The space has no Insight yet. Click Connect in the list to connect a source, or ask an admin to do it. See Add a data source.
The widget says Nothing to show yet
- The widget has no data series. Click Add a data series on the widget, or open the editor and set Data source and Metric.
The widget says No data in this range
- The series returned nothing for the current time range. New widgets read the Last 7 days. Open the editor and set a wider Time range, or All time to see whatever data exists. A source connected today has no history yet.
The editor does not open when I click the widget
- Click the widget name, not the chart itself. If the editor still does not open, your role is Reader and the widget is read-only for you.
My prompt is over the limit
- The counter under the prompt shows how many characters you used and the limit. The Insights of the dashboard count towards it, marked (incl. sources). Shorten the prompt, or build the widget by hand.
Was this helpful?