
Add a data source
Connect a system from the Marketplace with Check and connect, or send a connect link to someone who has access, and what happens next.
What is a data source?
A data source is any external system Indicate can connect to, for example a property management system, a booking engine, Google Analytics 4, Meta Ads, or a shop. Once connected, Indicate fetches its data on a schedule, stores it in your warehouse, and builds an Insight from it, the set of metrics your dashboards, Resi, and AI assistants read.
Connecting a source replaces exporting reports by hand. The numbers arrive in one place, in one format, and stay up to date on their own.
Before you start
You need the Admin role in your space.
You need access to the source system: an admin login, an API key, or the right to grant access through OAuth, depending on the system. If you do not have it, you can send a connect link to the person who does, see below.
Every connection counts towards your plan. Check
Settings→Planfor how many you have.
How you sign in depends on the integration:
OAuth: for Google, Meta, Shopify, and similar platforms. You are sent to the provider, sign in there, grant access, and come back.
API key or token: you create a key in the source system and paste it into the connection options.
Username and password: for systems that only offer a login.
Provided by the vendor: some enterprise systems require a licence or a data agreement first. The vendor then hands you the credentials, or sends them to Indicate directly.
How do I connect a data source?
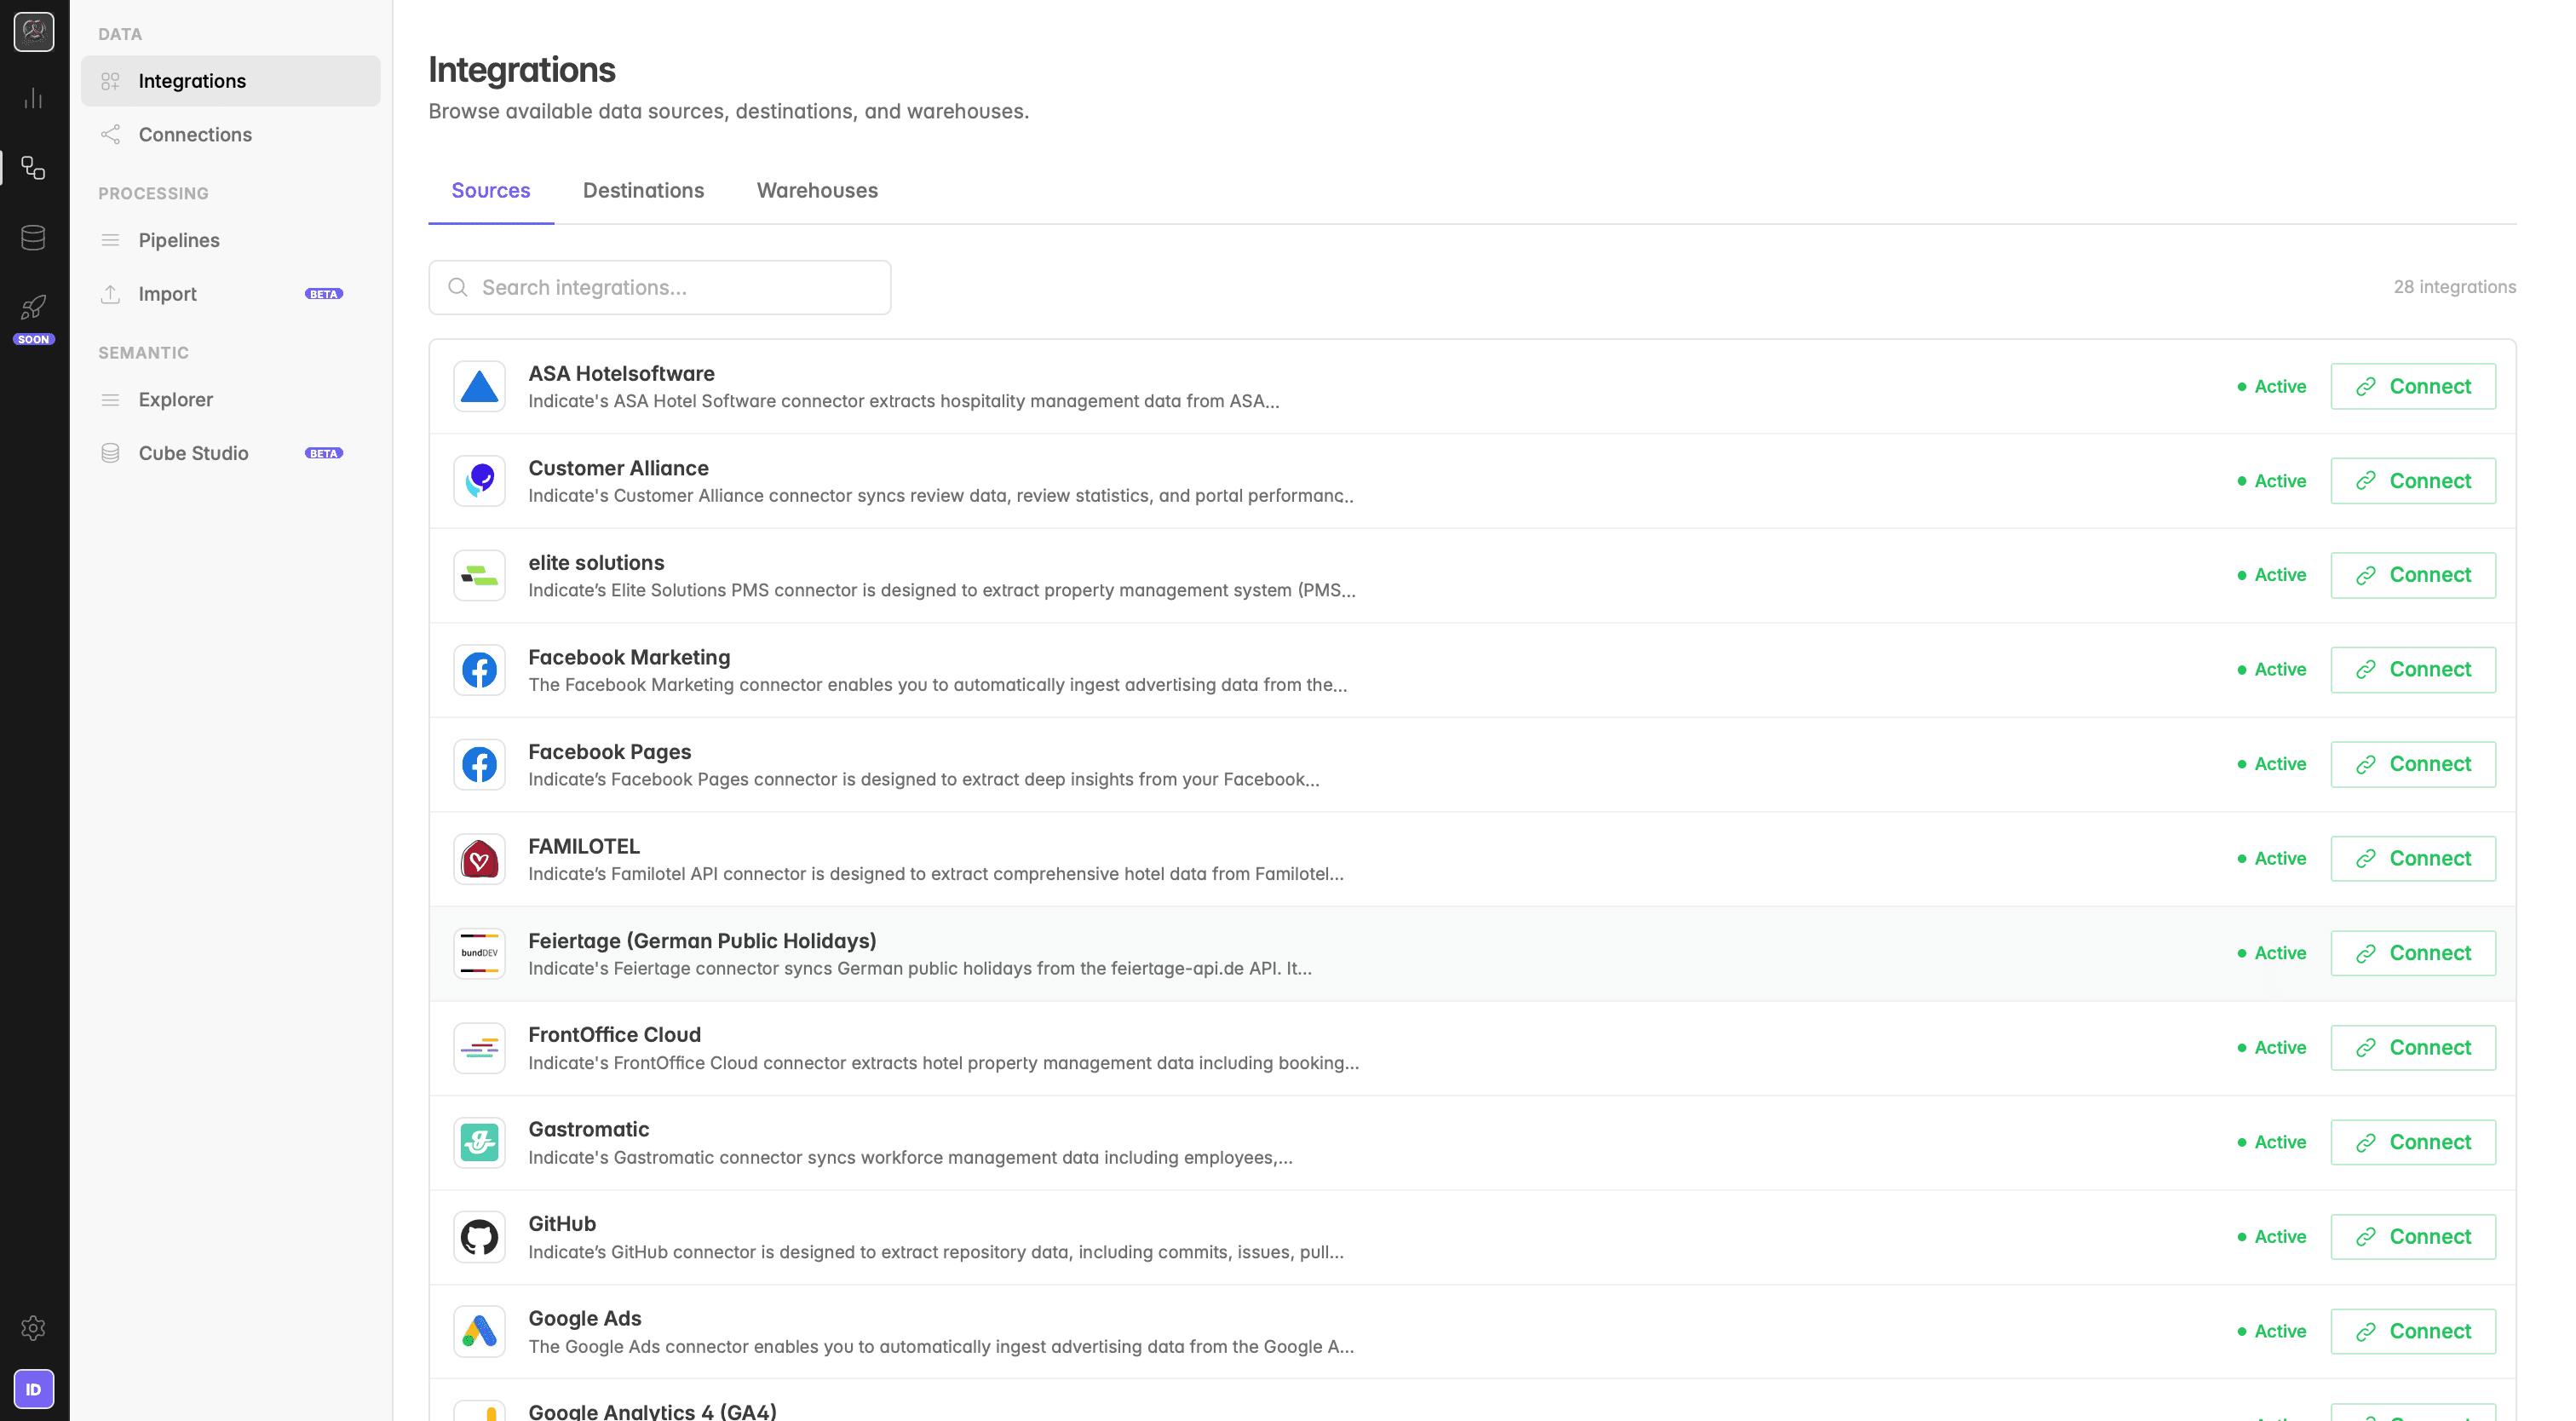
Click the database icon in the left rail to open Data sources, then click Marketplace.
Find the integration and click Connect. The integration page opens on its Connect tab.
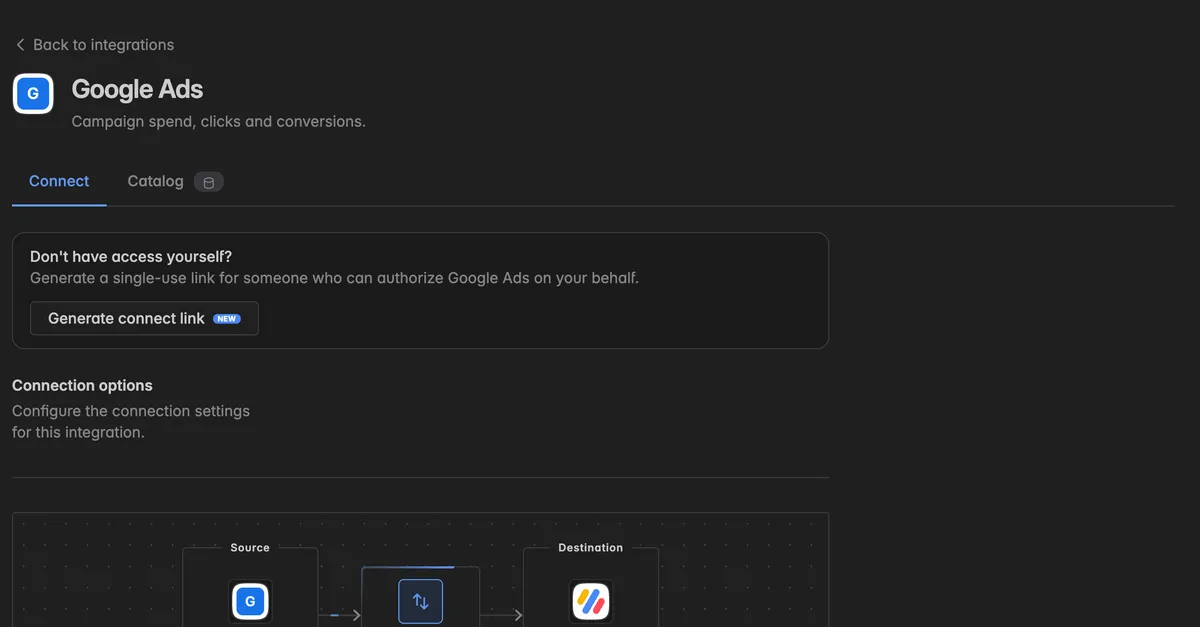
Fill in the Connection options. The fields depend on the integration: an account name, a property or shop ID, a key, or a sign-in button that opens the provider. Some integrations offer a switch to include personal data, PII. It is off by default, turn it on only if you need person-related fields.
Check the diagram below the form. It shows the flow from the Source through the sync to the Destination, your Indicate warehouse.
Click Check and connect. Indicate tests the credentials and, if they work, creates the connection and sets up the sync.
The new connection opens under Connections. Its first sync starts right away, and the matching Insight appears under Insights as soon as data has arrived. Depending on the integration this can take a few minutes or, for systems with a lot of history, up to 72 hours.
Note: If you see the toast Connection created, but syncing isn't set up yet, the credentials were saved but the sync could not be prepared. Open the connection and click Start syncing on its Overview tab. Nothing needs reconnecting.
The short way: Connect a source on the Home page
Admins can connect a source without opening the Marketplace:
On the Home page, click Connect a source at the top right. The dialog Connect a data source opens with the list of integrations. Retired integrations carry the badge Deprecated with their stop date.
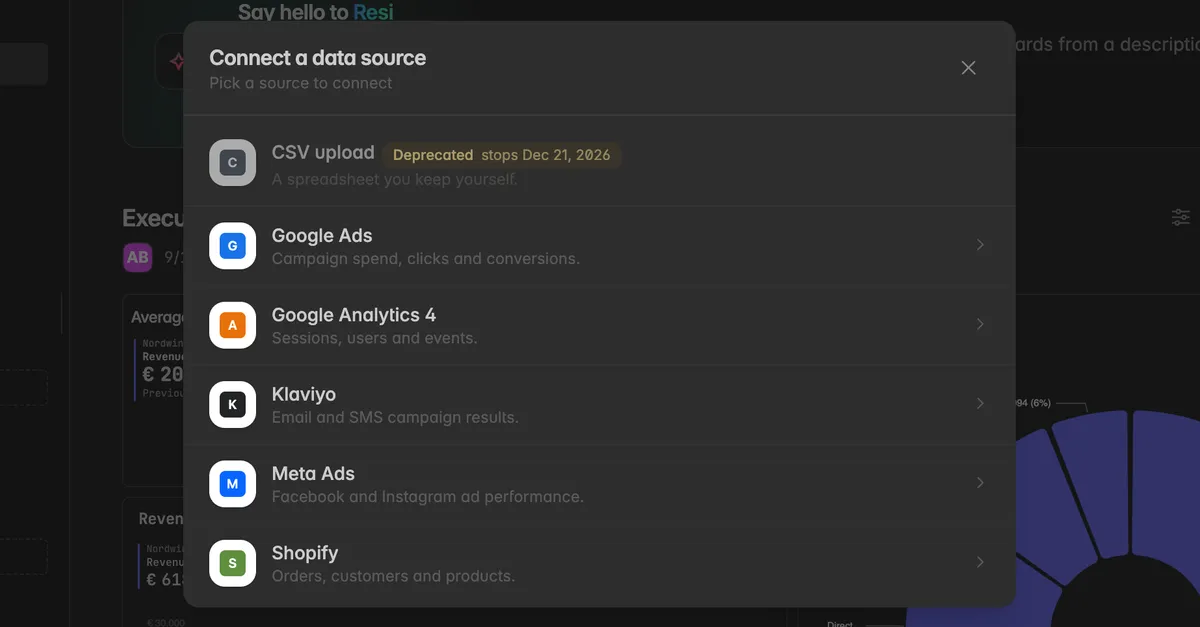
Click the integration. The dialog switches to Configure the connection, the same options as on the Connect tab, with Generate connect link at the bottom.
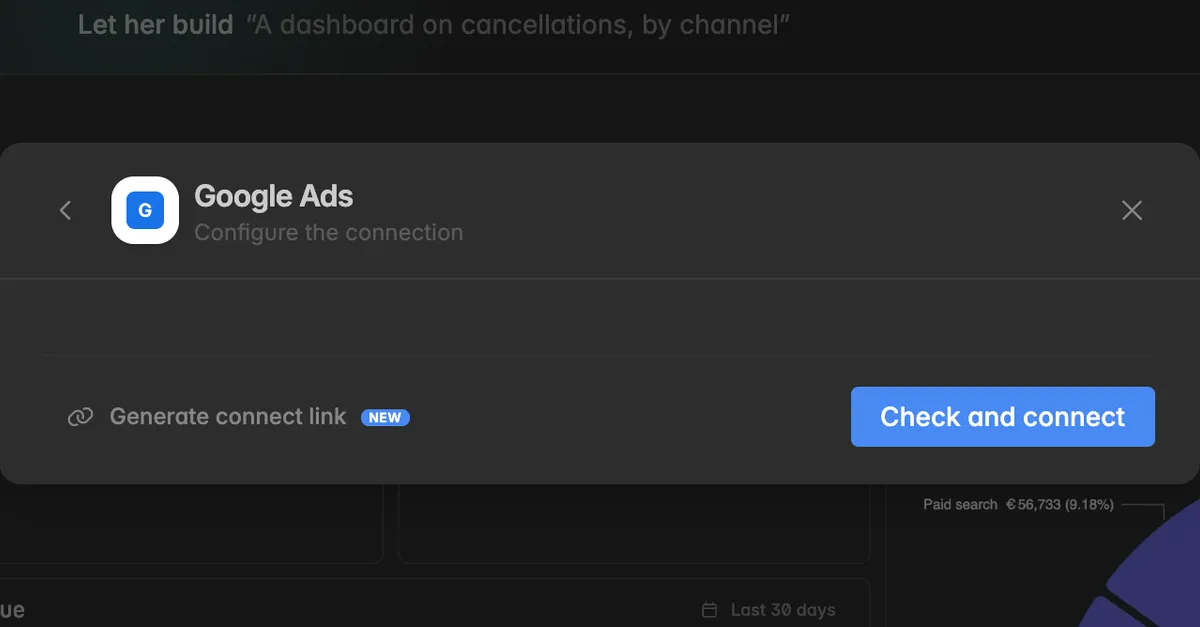
Click Check and connect.
The new connection then opens under Connections, exactly as from the Marketplace.
What if I do not have access to the source system myself?
Use a connect link. It is a single-use link you send to the person who can authorize the source, for example the agency that runs your ad account or the IT contact at your PMS provider. They open the link, sign in to the source, and the connection lands in your space. They never need an Indicate account, and you never see their credentials.
On the integration page, click Generate connect link at the top of the Connect tab.
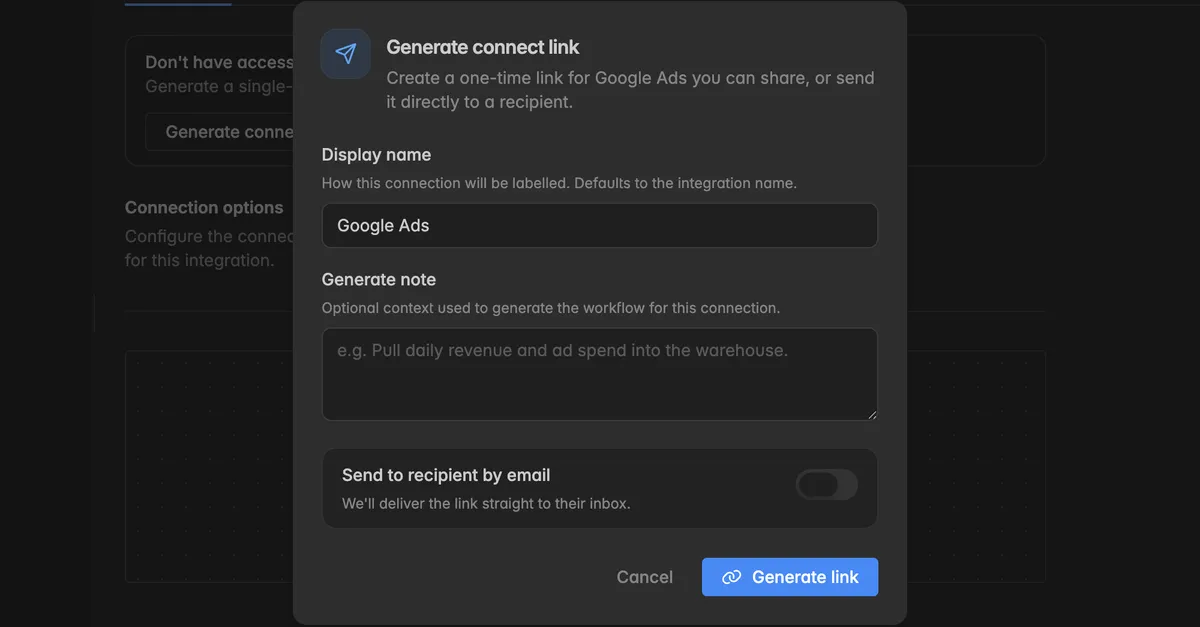
Enter a Display name for the connection. It defaults to the integration name.
Optionally add a Generate note with context, for example
Pull daily revenue and ad spend into the warehouse.Turn on Send to recipient by email and enter the address, or leave it off to copy the link yourself.
Confirm that you have authorization to request access from this recipient, then click Generate link.
Copy the link from the dialog Connect link ready. It is shown once. If you lose it, revoke the invite and generate a new one.
The invite appears under Data sources → Connect invites with the status Pending until the recipient uses it, then Consumed. Links expire, the page shows when. Use the icons on a row to Regenerate or Revoke the invite.
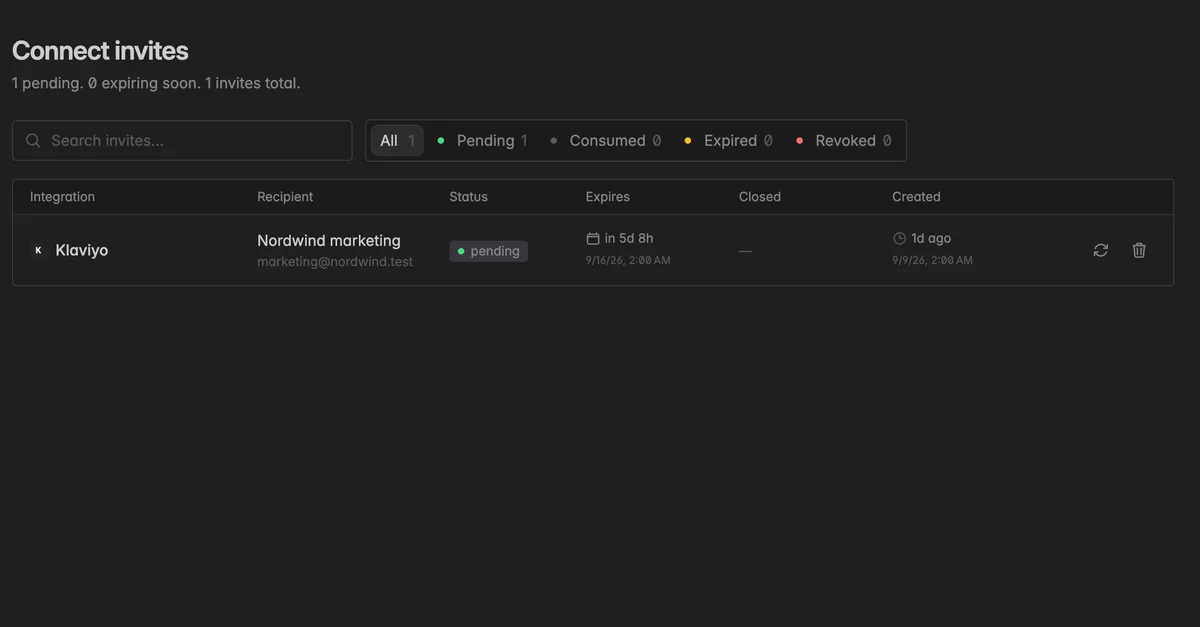
A connection that was authorized this way carries the badge External. Its credentials are managed by the person who authorized it and cannot be viewed or edited in your space. If it needs re-authorizing later, open the connection, click Options, and select Generate reconnect link.
How do I connect the same system twice?
Connect it again from the Marketplace. Each connection stands on its own, with its own credentials, sync, and Insight. This is how you connect two properties, two ad accounts, or two shops. Give each connection a clear name in its Settings so you can tell them apart, see Connections.
Troubleshooting
The source I need is not in the Marketplace
- Click Tell us which ones you need at the bottom of the Marketplace, or use our request form. We add integrations regularly and like to work with a pilot customer when we do. Until then, bring the data in by file, see Import.
Check and connect fails
- The credentials are wrong or lack rights. Sign in with an account that has admin or API rights in the source system. For OAuth, grant every permission the provider asks for. Some providers require you to enable API access or a data agreement first.
I cannot see the Connect button
- Connecting needs the Admin role. Hover over the button: Not enough rights to do this means you have to ask a space admin.
The connection is there but no Insight appeared
The Insight is created once the first sync has delivered data. Open the connection under Connections and check its Overview: the diagram shows whether the sync is Connected and healthy. Wait for the first run, or click Options → Sync now on the Pro plan.
If the Overview reads This connection isn't bringing in data yet, click Start syncing.
The connection counts against my plan
- Every connection is one slot, also a second connection of the same integration and connections authorized through a connect link. Check
Settings→Planfor the number included.
Data I expect is missing
Personal data is only fetched when the PII switch was on at connect time. Check the connection's Settings.
Check the Catalog tab of the integration in the Marketplace: it lists exactly which KPIs and dimensions Indicate delivers. If a field is not there, the integration does not carry it.
Was this helpful?