
Import
Bring a CSV into your warehouse by hand: target table, CSV options, null threshold, recurring uploads, and what happens when the file structure changes.
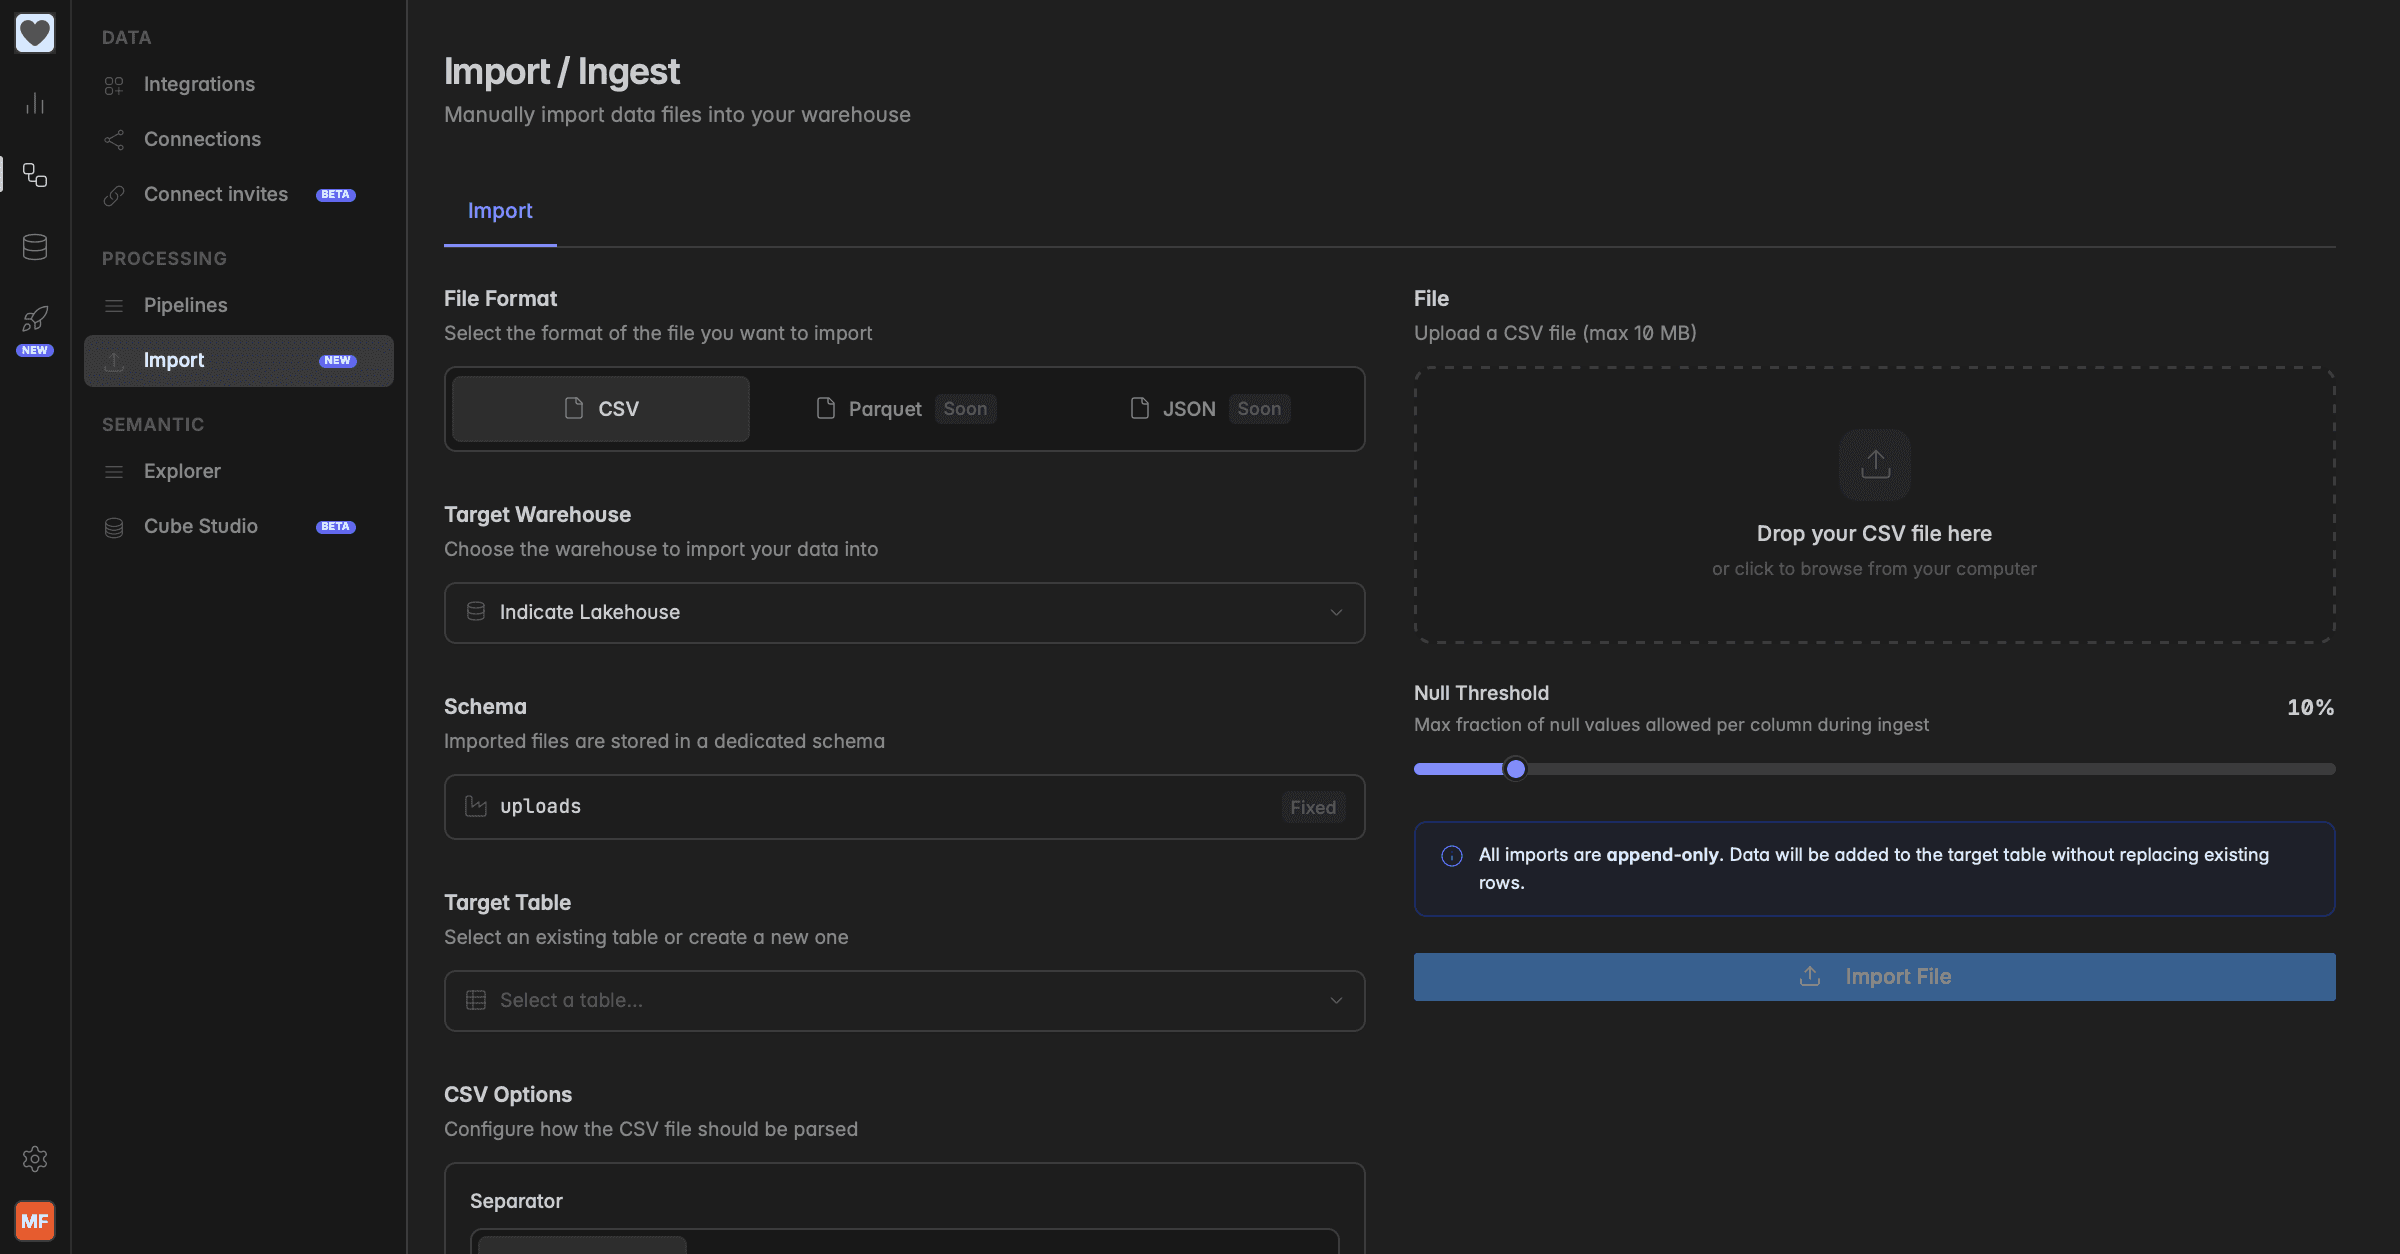
What is Import?
Import brings a data file into your Indicate warehouse by hand, without an integration. Use it for a one-off dataset, or for data that a system produces on a schedule but does not offer through an API, for example a monthly accounting export or a weekly report from a point of sale.
Supported format: CSV. Parquet and JSON are marked Soon.
Every import only adds rows. Nothing already in the target table is replaced.
Imported tables land in the schema
uploadsof your warehouse and can be queried, used in KPI collections, and browsed under Data.
Note: Imports cannot be undone. Once rows are written, Import cannot delete or change them. Before you upload, check the target table, the column names and types, and the file itself. If you import the wrong file, the rows stay there. See the troubleshooting section for what you can still do.
Before you start
You need the Admin role. For other roles the Import entry in the navigation is locked.
Import is part of the Pro plan.
The file has to be a CSV of at most 200 MB.
How do I import a file?
Click the database icon in the left rail to open Data sources, then click Import.
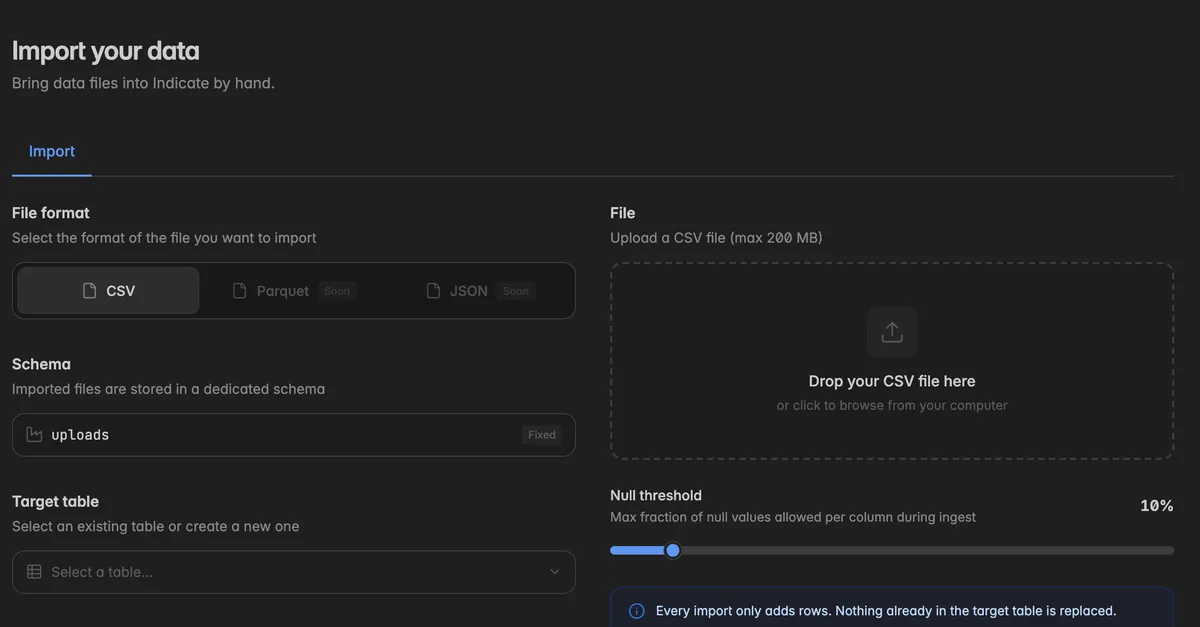
Under File format, leave CSV selected.
Schema is fixed to
uploads. Every imported table lives there.Under Target table, pick an existing table from the list, or choose Create new table… and enter a Table name. Only letters, numbers, and underscores, starting with a letter or underscore, for example
customer_data. The list shows how many rows each existing table holds.Set the CSV options:
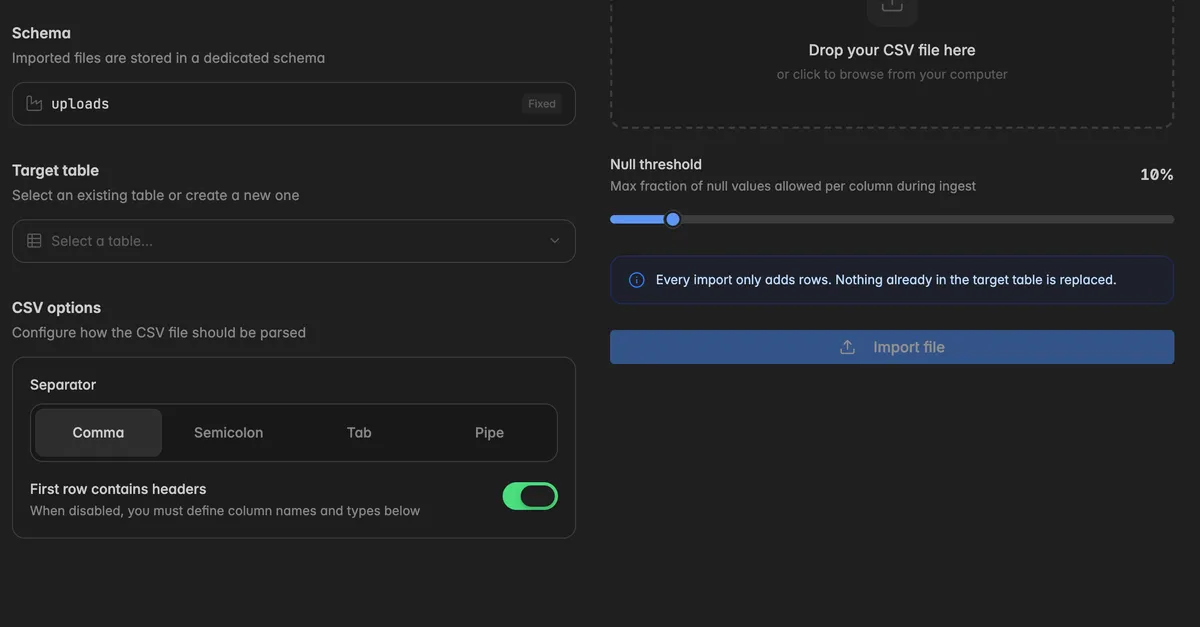
Separator: Comma, Semicolon, Tab, or Pipe, whatever your file uses. Comma is the default.
First row contains headers: on by default, the first row becomes the column names. Turn it off if your file has no header row. A section Column definitions then appears where you enter a Column name and a Type for every column.
Under File, drop your CSV into the box or click it to browse.
Set the Null threshold. It is the largest share of empty values a column may have, as a fraction,
0.1means 10 percent. A column with more empty cells makes the import fail, so a broken file does not slip in. Raise it for data that legitimately has many empty cells.Click Import file. The page shows Uploading and processing… and then a toast such as Imported 1,204 rows into customer_data.
The table is available right away. Find it under Data in the left rail, in the schema uploads, to check the rows.
Note: Null is not zero. An empty cell stays empty and is left out of averages, a
0counts as a measured value and pulls averages down. Leave a cell empty when the value is unknown, write0only when zero really happened.
How do I add data to the same table again?
Because every import only adds rows, you can upload a new file into the same table every day, week, or month. Pick the existing table under Target table, and the new rows are appended. Dashboards, KPI collections, and Resi use the new rows as soon as the import is through, nothing has to be reconfigured.
Include a date column in the file, for example
report_month, so you can group and filter by period later.Indicate does not remove duplicates. If you upload the same file twice, every row is in the table twice. Upload each file once.
What happens when the file structure changes?
If a new file does not match the existing table exactly, the table is extended automatically:
A column is missing in the new file: the new rows get an empty value in that column. The import does not fail.
A new column appears: it is added to the table on the right. Older rows get an empty value in it.
A column is renamed, for example
revenuetoRevenue: Indicate treats it as a new column. Both columns exist side by side.A column changes its type, for example from whole numbers to decimals: Indicate adds a second column for the new type instead of converting.
Keep column names and types the same across uploads to the same table, otherwise the table fills up with duplicate columns.
Troubleshooting
I cannot open Import
- The entry needs the Admin role and the Pro plan. Hover over the locked entry in the navigation to see which one is missing, then ask a space admin or open
Settings→Plan.
The import is rejected
The Separator does not match the file, for example semicolon instead of comma.
A column has more empty cells than the Null threshold allows. Raise it, or fill the column.
Dates or numbers are written in different formats across rows, for example
01/02/2024next to2024-02-01, or1.234,56next to1234.56. Use one format, ideallyYYYY-MM-DDand a dot as decimal separator.A value does not fit the column type of the existing table, for example text in a number column.
The file has unescaped quotes, line breaks inside cells, or rows with extra columns.
I imported the wrong file
Import cannot remove rows. If the table only holds this one upload, drop the whole table under Data and import the corrected file into a new table. See Drop or truncate a warehouse table.
If the table already holds many good uploads, dropping it loses those too. Test the structure with the first upload before you start adding to a table regularly.
The file is larger than 200 MB
- Split it into several files and import them one after the other into the same table.
Was this helpful?